Wednesday, December 31, 2014

Year of Cards - January

You knew I'd get back here with at least the last of my "Year of Cards" didn't you?  Good, cos that's what I'm gonna do right now. But first....
It's been an incredibly hectic holiday season. I actually had to send off 2 boxes of gifts without their Year of Cards boxes because I just couldn't get them finished (the stamps I needed and ordered arrived but I was under a pile o'Christmas). But right after Christmas I got to work and whipped up 12 of these (yes, I made extra. Originally I'd planned on 8 YOC's gifts and started making 9 cards at a pop somewhere along the line. Then I decided I needed 9 gifts... suffice it to say I had a complete 8 sets then had to add in the month's I was missing... oyvey I was a card making fool). I had them all packaged up in time to bring to Parlett Christmas in Delaware on Saturday. And they were very much appreciated -  which of course made my heart happy.
So for January's addition I felt I had to use that perfectly beautiful sentiment (there are others in the $5 little set) - it was just right. But what else? I'd seen a card using tiny little snowflakes but I was looking for something a little bolder. Then I remembered I had a few snowflake stamps - in a set of Making Memories foam stamps (do you have any of those? I remember needing all those sets. And I do have quite a few. Those foam stamps are just the easiest stamps to use.) I pulled them out and selected a medium sized snowflake. I stamped them in Versamark and used clear embossing powder then finishing off  by sponging on PTI Aqua Mist ink. I had already decided I'd put a stitched border on the left hand side - machine stitching with some lovely silver metallic thread I'd picked up months ago in Hobby Lobby. You'll see here a couple of variations of stitching but on the ones I gave away - those all had two lines of straight stitching. I like how they came out (and they were quick to make - even with the stitching.)
Okay, I'm off for now. I am pondering the new year - aren't we all?  I just took a look at the years I've been blogging here. It will be 10 years in January. How can that be????
Looking forward to what 2015 will bring -  Happy New Year!
Wednesday, December 10, 2014

Winter Wishes Dear Ones


Just jumping on here quickly to share some "Dear Ones"
cards I'm mailing out this morning. The stamps are Pompom Pals from PTI. So cute and fun to color (but as I'm looking at this pic I realize I forgot to color in one of the striped borders! LOL Had to stop and color that in superfast so I can get these in the mail this morning).
I played around a lot with these in a few stolen moments over the last few days and while I love my Copic Markers I decided to finally use my Prismacolor pencils - and that magic colored pencil technique (mineral spirits and tortillon). I also threw in a little Wink of Stella on those stars. Not the best pic but I wanted to just get something out here on the blog. Its just the busiest time of year and while I'm making things I'm not always sharing.
Lots of tags to be made, gifts to be wrapped (and purchased in some cases!) and I need that last stamp set for my Year of Cards. It'll all get done. It always does right?

Hope your holidays have gotten off to a great start and you're enjoying the season. Thanks for stopping by!

Updated: now its the afternoon and I came back cos I realized I needed one more "Dear Ones" card so I made the Pink snowman with the silver border (now the top pic). I wanted to show you the pretty sparkle of the clear Wink of Stella - so cute. That's really all for today now!

Friday, December 05, 2014

Year of Cards: December

Hello again!
So I'm almost at the finish line with my Year of Cards. Today's edition is December.
I tried to go with a winter feeling without it looking like a Christmas card. In my family, we have several Christmas birthdays (my grandfather and my cousin were born on Christmas day. there is one Christmas Eve baby, and several other December birthdays). I love red & white this time of year - candy canes, peppermints etc. I bought  Papertrey Ink's Fair Isle Motifs stamp set - sooo pretty. I went back & forth about using it as I had 8 cards to make (and that meant a lot of stamping! If you look closely at the cards pictured - I used one stamp. Stamped 6 times for each card front.) I tried out a few designs (stamping a selection of the stamps but finally decided to just use one of the large stamps). I couldn't make up my mind which orientation I wanted to do for all of the cards so I made a few of each - but each used the same sized stamped panel and the sentiment (from Birthday Classics: December) stamped on a die cut shape (Lil' Inker Designs Stitched Mats: Rectangles).
Now my Year of Cards is all caught up. I need to wait for the last in the PTI Birthday Classics series - January. It is due for release on the 15th. In the meantime, I'll pack up the cards in their boxes, create a label or belly band - still pondering packaging - and have it all ready to go for that final card.
Thanks for stopping by!

Wednesday, December 03, 2014

Year of Cards: November

Hello friends!
Back again to show you the November edition of my Year of Cards.
I decided to use Papertrey Ink's Autumn Adornments stamp set for the image. It's just the loveliest stamp - you can add little pumpkins to that vine or acorns like you see here. And I opted to keep it somewhat monochromatic. The cardstock is PTI's Fine Linen, the image is stamped in PTI Classic Kraft ink. The sentiment is from Birthday Classics: November, stamped in Dark Chocolate ink. Then I pulled out my sewing machine and did a bit of stitching (the thread is an off white - almost beige - blended right in. I was looking for the texture, not the color to add to the design).
Alrighty - that's all for today. Up next is December...

Monday, December 01, 2014

Year of Cards: October

Hello kids - I'm back! Well, I'm getting back - to normal. Thanksgiving was absolutely wonderful -and exhausting LOL (I can imagine you're nodding in agreement out there). Lots of food, fun and family. I wished I'd taken just a few more pics of the festivities but it's ok. This morning, things around here are returning to normal. I packed up all the fall and Thanksgiving decorations - now on with the Christmas! Okay, I'm not quite there yet but it's just good to have a quiet morning. Got a number of things done and that feels good. I haven't begun my Cyber-Monday shopping but I'm getting my credit card ready LOL!
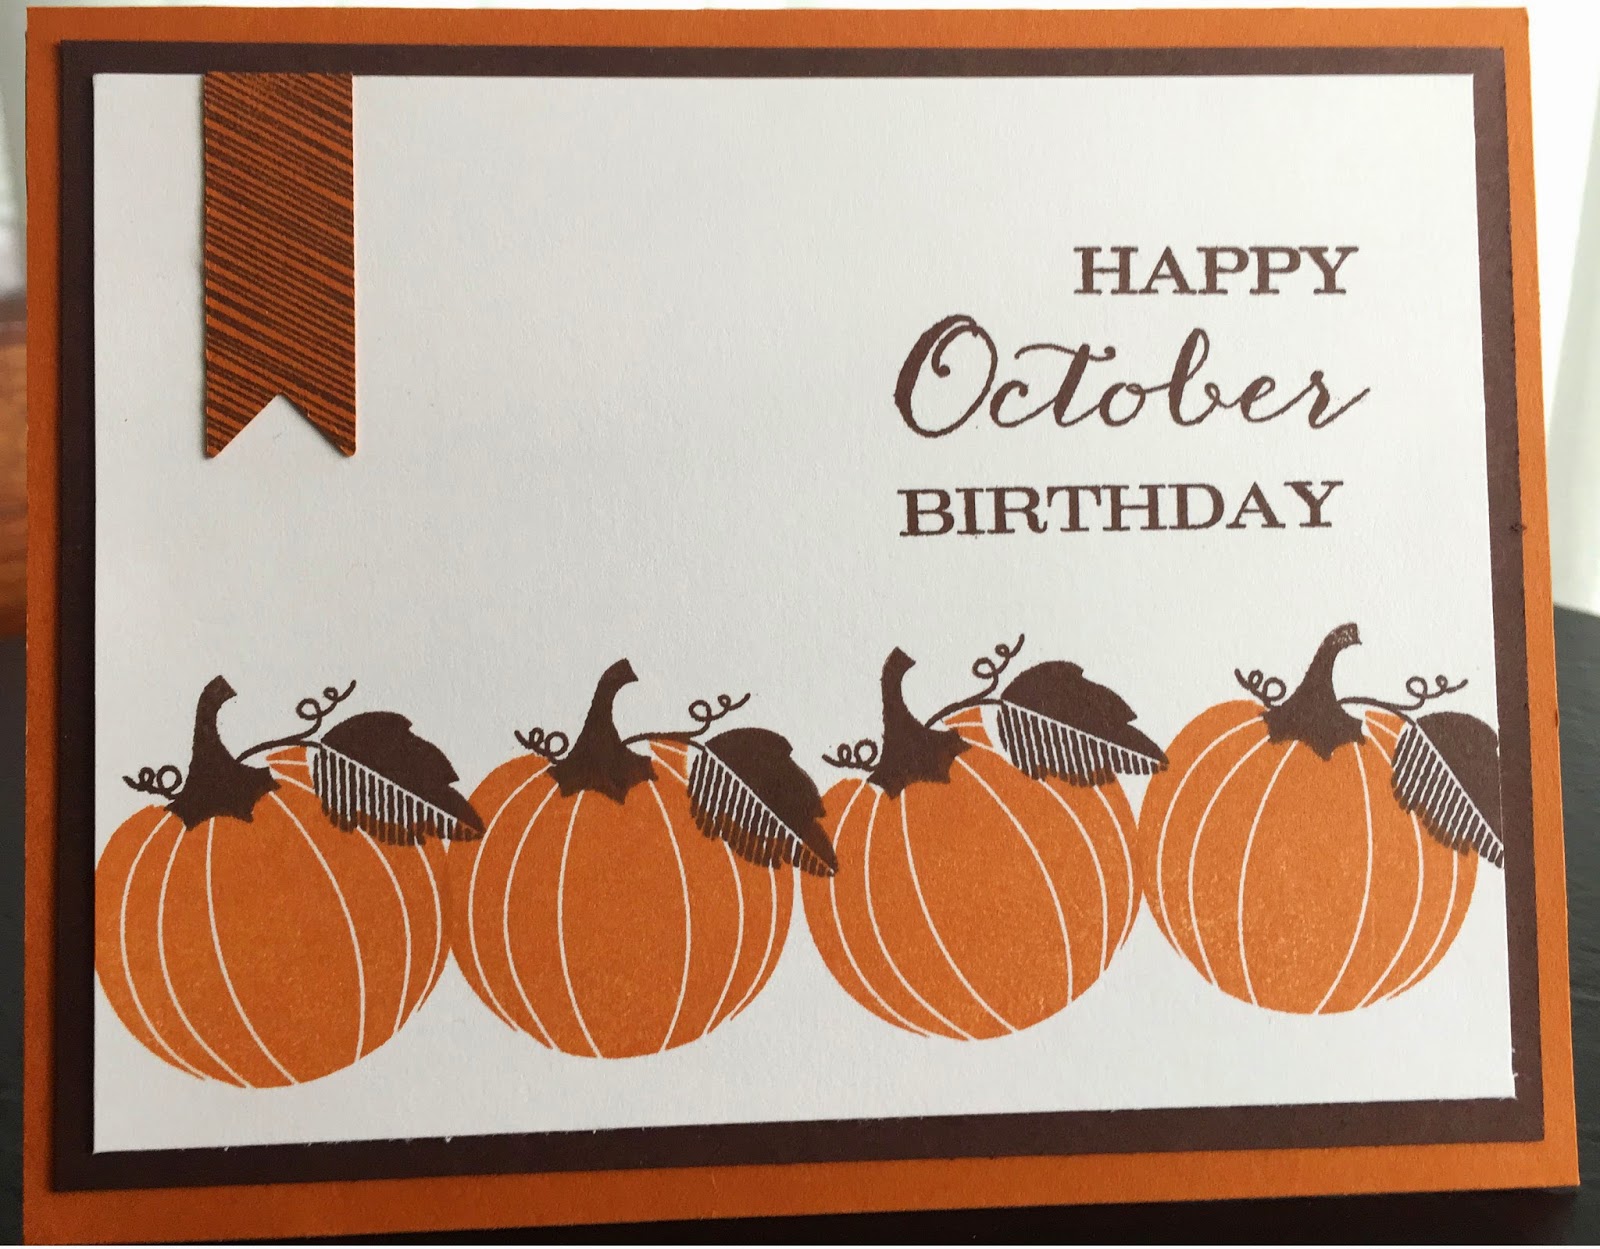
So I'm here today to actually share a card (what a concept huh?)  Another in my "Year of Cards" series. Last I posted about this I still had October, November, December, and January cards to create. (A quick rehash - I'm making card sets for family members for Christmas - sortofa stocking stuffer if you will. There is a birthday card for each month featuring stamps from Papertrey Ink.) Today's edition is October. I tried to stay away from Halloweeny things (my older sister's birthday was near the end of October and she hated the Halloween themed birthday parties she had as a little girl. Strangely enough, I loved them and was always a little jealous my September birthday had no theme.)  I did use image stamps from PTI's Scentimentals stamp set (no - these cards aren't scratch-and-sniff but they coulda been!) as well as sentiments from PTI's Birthday Classics: October. I cut that little banner from the Double Ended Banner die and then stamped it with a stamp from PTI's Sketched Shapes. It's simple but I like it (and it's fairly flat - I think it'll mail with one postage stamp).
Thanks for stopping by. Stop on back this week - I'll be sharing November & December's cards!
Have a good one ~

Sunday, November 16, 2014

Hi there

Just thought I'd pop in briefly here on the blog to say I've been crazy busy - around the house mostly - doing a lot of cleaning and decorating in preparation for Thanksgiving. My house has been sorely neglected in the past months (i could say years but you'd probably be horrified... well it's true) and I really needed to get things in order. I am nearing that place where I will be happy to have guests in for the holidays. Everything isn't perfect but I'm getting there. I do have some work being done in the house this coming week which should make things really looks spiffy (I like that word don't you? :-))

I have actually been making some things in my spare time LOL but nothing ready to share yet. A few expected but unexpected things occurred in the last week to keep me from posting. But I'll be back shortly. Thanks for stopping by.

Saturday, November 01, 2014

Keep You in My Heart

Here's a card I made for my son who is off on a new adventure in a far off state. It's pretty exciting really. But I'm not gonna lie - I'm going to miss this child.
When they hand you these little creatures in the hospital it is quite astounding - the instant love you feel. Something quite unbelieveable. Like nothing you've ever felt before. And then all through the years you run through a series of emotions. But this one - the feeling of excitement for him and sadness that I won't see him every day, listening to his crazy stories, feeling his strength and kindness through some pretty tough times, laughing so hard with him I'd cry... oh I could go on and on... this has been one for the books for me. 
I'm happy & sad all at the same time - crazy. 
But I'm truly excited to see what's next for him - and hey - for us too. 
Hope you're having a great day. Happy November!

Friday, October 31, 2014

Halloweens-a-comin day 4 - wait - it's here!


Happy Halloween kids!
 
Last 3 cards to show you today. All three cards use the Happy Spooky Halloween stamp set and die from Papertrey Ink. The patterned papers are all from the Halloween Prints paper pack from PTI as well.
On the first card, I cut the speech bubble using my Silhouette Portrait. I added some ric rac I had in my stash as well as some tape from K&Co.


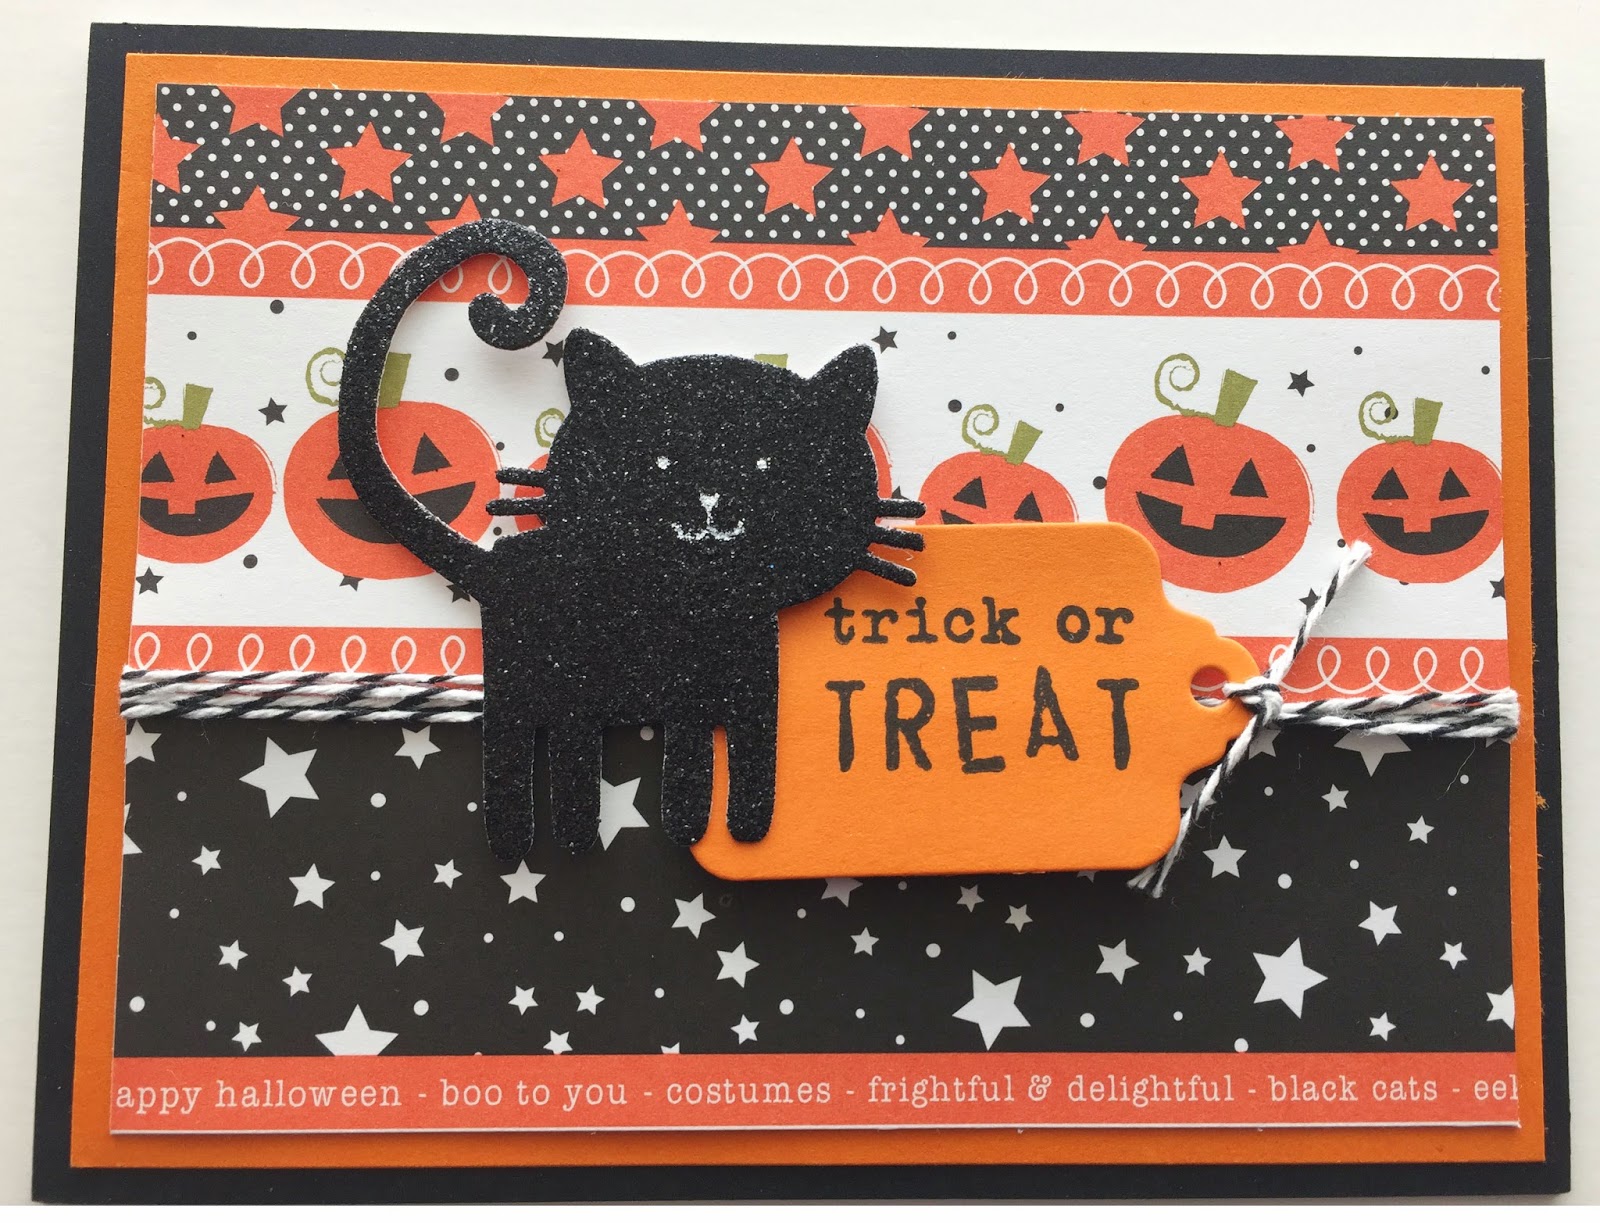
The second car uses one of the Tremendous tag dies from Papertrey Ink and some black Bakers Twine. I cut the cat using some glitter paper (like the Doodlebug sugar coated cardstock). I decided I'd add the kitty's face in using a white gel pen.


And the last card is very similar to a card I posted on day 1 - just a slightly different layout.

So that's it for Halloween cards. It was fun but now I need to move on to get caught up on my Year of Cards gifts for Christmas not to mention a whole lotta Christmas cards.

Have a wonderful Halloween! Candy for everyone :-) (I don't know about you but it's the only day of the year I don't feel too guilty about eating some candy... well not tooo guilty.) Enjoy!

Thursday, October 30, 2014

Halloweens-a-comin day 3

 So here's another few Halloween cards for my dear ones featuring that adorable cat (who looks just like my little Westley) from Papertrey Ink's Happy Spooky Halloween set. In the first card I used some patterned paper (PTI's Halloween prints - the dotted orange/black paper) along with a background I made using one of the stamps from the set stamped in Versamark. I cut the speech bubble with my Silhouette Portrait and stamped a sentiment from PTI's Keep it Simple: Halloween. I also added some black ric rac from my stash.


The second card - more stamping to create a background but this time with PTI's Orange Zest ink. I matted the main image with some patterned paper from the Halloween Prints paper pack. I used the same sentiment as the previous card. And finally, I added a little Orange Zest Bakers twine to finish it off.
Okay that's all for today. I'll be back tomorrow with more! Thanks for stopping by.


Wednesday, October 29, 2014

Halloweens-a-comin day 2

Back for day 2
Here are two more Halloween cards I sent to my
Dear Ones. Those cats are from Papertrey Ink's Happy Spooky Halloween and  Cat's Meow sets.
(They are representing my two crazy kitties, Westley & Willie.)
The sentiment is from PTI's Keep It Simple: Halloween and stamped on the Double Ended Banner die from PTI. Patterned paper is from the Halloween Prints paper pad (yes... also PTI!)


The 2nd card is also using the Happy Spooky Halloween set as well as the Text Block: Halloween die. I stamped the ghosts two different ways. I stamped the white ones you see using PTI's Fresh Snow ink. Then I went back and stamped more ghosts in Versamark. My intent was to clear emboss those and I did - but you're wondering what are those white specs? Well.... long story short: a while back I hadn't been careful and some white embossing powder got into my clear EP. I thought I marked the top of the jar - I should have thrown it away. And when I was making this card I used the wrong jar of clear embossing powder. But strangely enough - I kinda love it. Serendipitous wouldn't  you say?

Alrighty that's all for today - see you tomorrow for day 3

Tuesday, October 28, 2014

Halloweens-a-comin day 1

 Yes I have not been posting much. Ahhhh- but I have been making things (when I am not in my pre-Thanksgiving rip-the-house-apart-we've-got-company-coming frenzy. Yes I'm already thinking Thanksgiving - you can't start the cleaning too soon - and it is not yet Halloween. Heck I'm already doing some Christmas crafts... but more on that soon.).
So I have made a bunch of Halloween cards for my "dear ones" (i'm gonna make a category for them for heavensake) and figured I'd post them over the next few days.

For the first card I used Papertrey Ink's Happy Spooky Halloween stamp set and die as well as a circle Nestabilities die. The background paper is also Papertrey. So cute and makes the card come together so quickly - this was a less than 10 minute card. I am positively in love with the little cat - he's a replica of my little Westley (my mostly companion, ever-present shadow, and best buddy).


This card was another quick one. I used a few dies from Papertrey Ink: Text Block: Halloween die as well as one of the dies from the Shakers & Sprinkles kit to make that stitched frame. I also used some polka dotted tape from K&Co Smash book line.
I think it's a nice masculine card (for someone I'm not sure would appreciate the cute cats :-)).

Okay that's all for today. I'll be back with more all week!

Tuesday, October 21, 2014

Sprinkled with Sunshine Birthday Shaker Card

I'm back today to show you a birthday card I made for one of my sisters-in-law. Her birthday is coming up next week (I know... getting ahead here! yay!). I know from my own sister that just because your birthday is in October you don't want it to be about Halloween. You want it to be about your birthday right? Balloons, cupcakes, cake, streamers: yes! Pumpkins, witches, ghosts: NO!
I'd already decided I'd wanted to make it bright and happy and use those PTI Shakers & Sprinkles stamps and dies and sprinkles - a shaker card was in order. I'd chosen some Doodlebug Sugar Coated Cardstock in Tangerine (the color is gorgeous - I swear you could squeeze a glass of juice from it) for the die cut word on the front of the shaker. I cut that word out but added several diecuts cut from white cardstock to give it a little heft and make it stand on its own.  The background sunburst inside the shaker is patterned paper that came with the Shakers & Sprinkles kit. I added the stamped words ("I hope your day is" and "with sunshine" in Hawaiian Shores Ink. I decided using black ink would give it that Halloween look I was trying to avoid). I cut out the shaker frames and put it together using some of the "sprinkles" that came with the kit and also added some clear sequins I had in my stash. Finally, I tried a few different combos for that background the whole thing sits upon. I had been working on some scrapbooking and had a 6x6 pad of Hip Hip Hooray Doodlebug paper on my drawing table. There was one piece of paper that had orange polka dots I thought would work and I really liked the look - done.  I've made a lotta shaker cards in my time and I have to say this was probably the easiest one I ever made. The dies with the adhesive foam sheets (also PTI) really made it so much simpler. One last thing - I stamped the inside of the card as well as the envelope. The sentiment is from Papertrey Ink's Keep it Simple: Birthday set and the sunburst and twinkling stars are from the Shakers & Sprinkles kit. I often am in such a hurry I don't stamp the inside so it was nice to do it for this card. And I love stamping the envelopes for my cards - kinda bumps up the anticipation for the recipient yaknow? They know something special is inside right? I think she's going to like her card.
Thanks for stopping by!

Friday, October 17, 2014

Year of Cards: May

Well I'm finally getting to post May's edition of my Year of Cards Christmas gifts.
When I'm making these cards I try to remember what season they're for so I can use seasonal colors. I think these colors work well for spring. I used two stamp sets from Papertrey Ink: Birthday Classics: May for the sentiment and Birthday Style for the balloons. I drew in the strings using a Pilot G-Tec-C4 pen. I love this pen (and its refillable - love that!)
I decided make 4 cards each of 2 different background cardstocks (from PTI - Berry Sorbet and Limeade Ice) - just a little variety for me - and I think both work. It will be random who gets what - they'll all be together when they receive their set of cards so if they want they can trade if they like one better than the other right?
Okay - I've got October, November, December and January to go! Thanks for stopping by - have a good one!

Thursday, October 16, 2014

With Deepest Sympathy


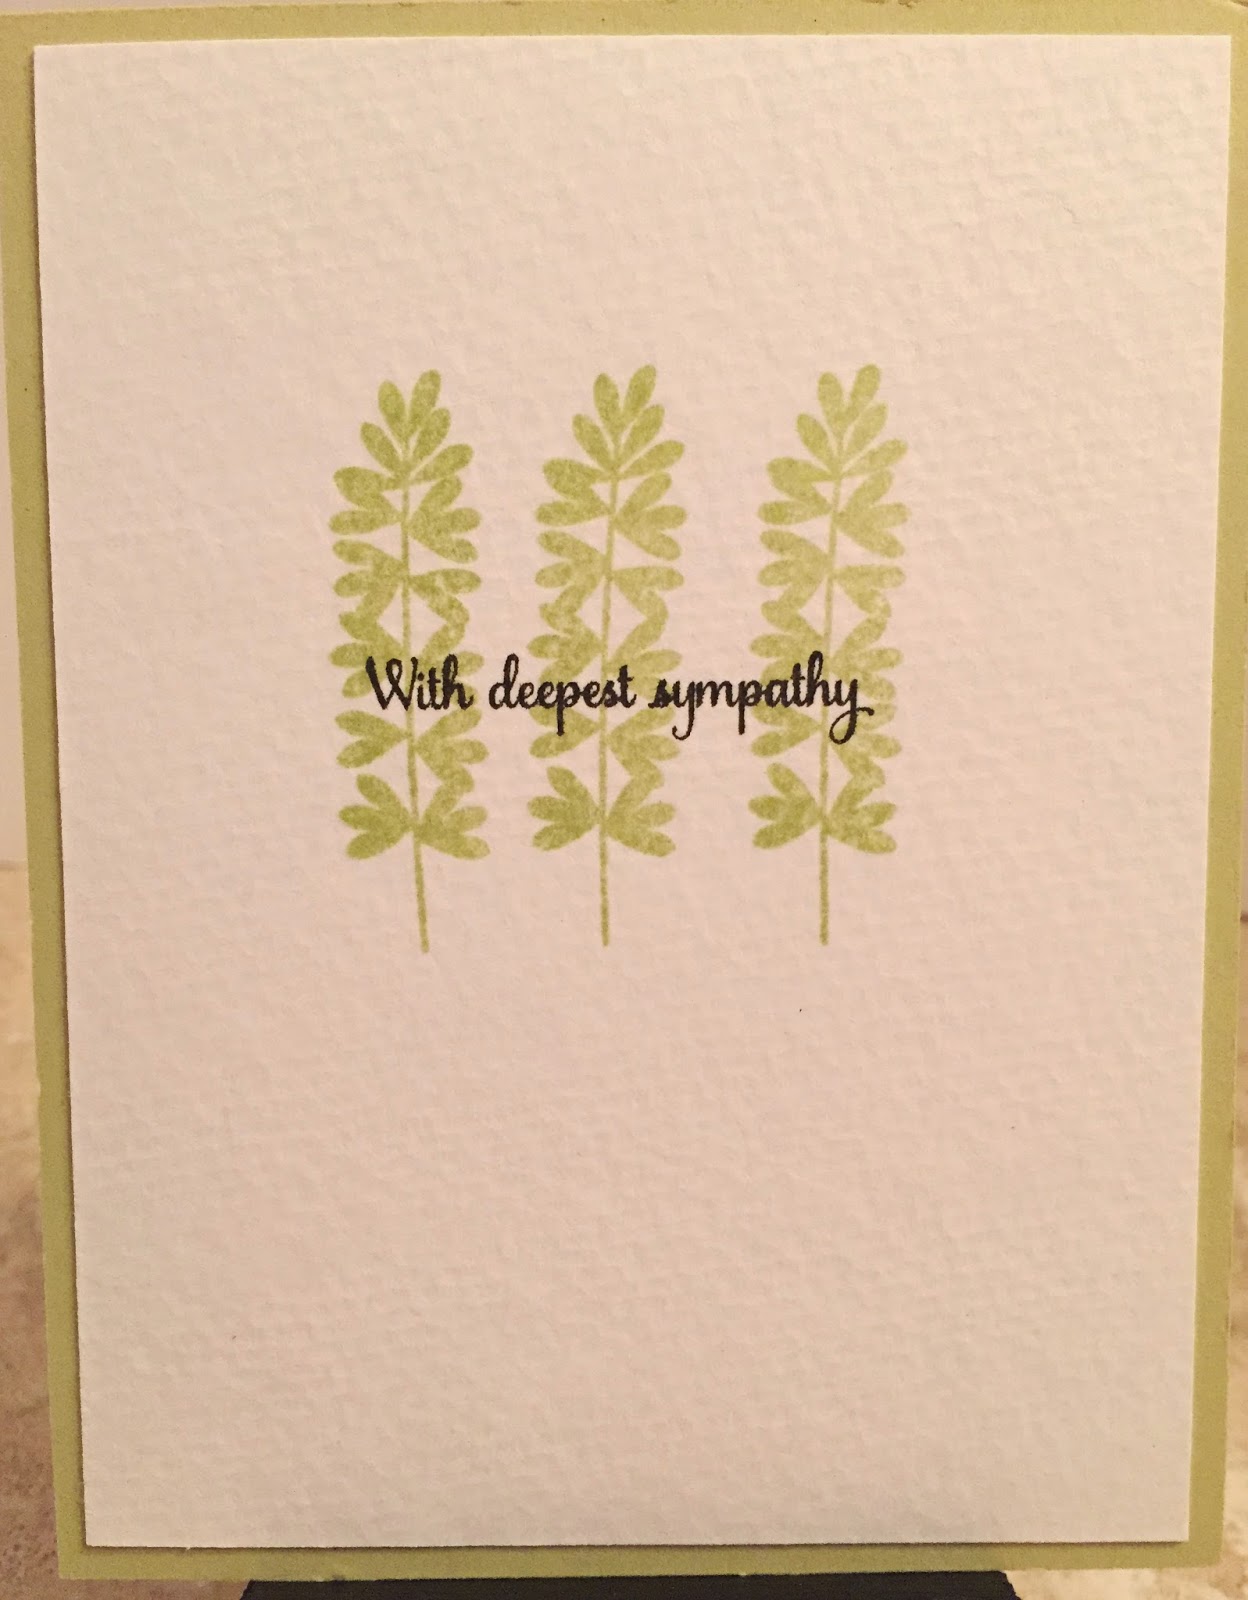
Unfortunately, we all need to send sympathy cards now and again. Last week I needed to send one. Not my favorite card to make, but necessary. I made this one quickly and made a second to put in my stash. The image is from Papertrey Ink's Leave it Be set and the sentiment is from Words of Comfort. It's simple but for sympathy cards, simple seems best sometimes. The cardstock and ink are also both from Papertrey - Spring Moss.
That's it for today kids - have a good one.

Wednesday, October 15, 2014

More Fall Y'all 2 (Happy Autumn)

Back again with my Happy Autumn card.
I used my Silhouette Portrait to cut out the main image and the rest of the card is papers from Doodlebug Friendly Forest Collection along with the Mini Doodle Pop cardstock leaf sticker.
And a little twine.
And my sewing machine.
I used to sew on my cards all the time and I'd gotten out of the habit. I really love the look of stitching on paper. I started stitching on paper probably 15 years ago. At the time I was sure I'd wreck my sewing machine but I didn't - well not right away at least. I think this is my 3rd machine. As much as I'd love one of those fabulous computerized ones I don't sew quite as much as I used to. Back in the day I was sewing drapes and Halloween costumes - various and sundry things. But these days I pull it out for cards and the occasional project that I gotta make (I have a few that are coming up - stay tuned!)
Okay - that's all for today kids. Thanks for stopping by!

Tuesday, October 14, 2014

More Fall y'all

Hey there. I just wanted to show a few more "fall" cards using that Doodlebug Friendly Forest patterned paper and some Mini Doodle Pop cardstock stickers.

On this first card I used the Nuts for You stamp set from Papertrey Ink again. I've had a lot of fun coloring these little squirrels! I cut out the "hello Autumn" using my Silhouette Portrait. And then there is of course these adorable Doodlebug papers and that cute little leaf sticker. Oh and the rick rack border was cut using a die from PTI.
Since Blogger is being uncooperative at the moment I think I'll do the other card in a separate post!


Sunday, October 12, 2014

It's Fall Y'all

I don't know if I've mentioned over the years - probably have - that I was born and raised in New York and New Jersey. The beginning of my migration south started in college. I went to school in Maryland. At the time my family
thought I was going way far South - at least it felt like that to them. (Northerners feel anything past Delaware is the South LOL!  I guess you gotta be from NY or NJ to make such distinctions. Heck if you are from New Jersey you definitely distinguish if you're from Northern Jersey or South Jersey. It's a fact - ask anyone from NJ) And if your parents and family are all New Yorkers - well, going to Maryland for school - it was almost like going to a foreign country.

Now I live in the great state of Virginia - Northern Virginia to be exact. And while there are a few folks who are actually from NoVA - its quite a conglomeration of people from all points on the map - or at least that's the way it seems to me. It is rare to meet someone who was born here!


The reason I'm talking about North & South - well it's the "y'all". Never said y'all growing up. These little expressions started creeping in to the vocabulary - heck I don't know when it happened. But it is there. And you'll hear a lot of y'all-ing going on round here. And I kinda like it.


(Tracy - where are the cards? Can we get to the cards please?) Yes. There are cards - you know there will be cards.

I recently purchased some adorable papers and a few embellishments from Doodlebug. ( yes Doodlebug of the sugar-coated cardstock fame here on my blog).  I needed to make some cards to send to some family. I've got a list of people I try to card monthly - the dear ones I don't always get to see - some I rarely get to see (they're back up North ;-)). I wanted to use a cute little Papertrey Ink set  called Nuts for You. The set has this darling squirrel, acorn, and leaf.


I thought the papers Doodlebug came out with recently, called Friendly Forest, would be perfect.  I've got a few more cards to make but thought I'd share a couple I've got made here.

The "hello" on the first card was made using my Silhouette Portrait. I thought the big sentiment would look cute with those adorable Mini Doodle-Pop cardstock stickers. Oh they are cute. (can you see the plaid on the leaf - sooo cute. I love plaid in all of its shapes and forms) That little fox is so precious I'm going to have trouble mailing him off. (musn't hoard, musn't hoard...)

On the second card I used Papertrey Ink's Stenciled Alphabet Blocks Die to create the banner. I used some more of the patterned papers behind each letter. And the squirrel is sitting on sort of a crazy quilt of patterned paper but I love it. There are so many pretty papers in the pad I wanted to use them all.


 One last card - I used some more of the papers to create the last card. I used a sentiment and tree trunk die from Papertrey Ink's Trendy Tree Tops. (I haven't pulled that set out for a while - yay for using some older stuff). I did use a circle punch for the tree top and made my own little banner for the sentiment (I inked that cardstock up with some Tim Holtz Antique Linen Distress Ink so it would work better with the cream background in the papers).

Alrighty. That's all for today. Y'all have a good one!


Saturday, October 11, 2014

Year of Cards: September

 Hey there - I'm trying to catch up and post things but there doesn't seem to be enough time in the day.

Anyway...

I have been stamping like crazy for my Year of Cards gifts for Christmas. I came up with September's edition maybe a week or two ago but just sat down yesterday to get them all stamped and assembled.

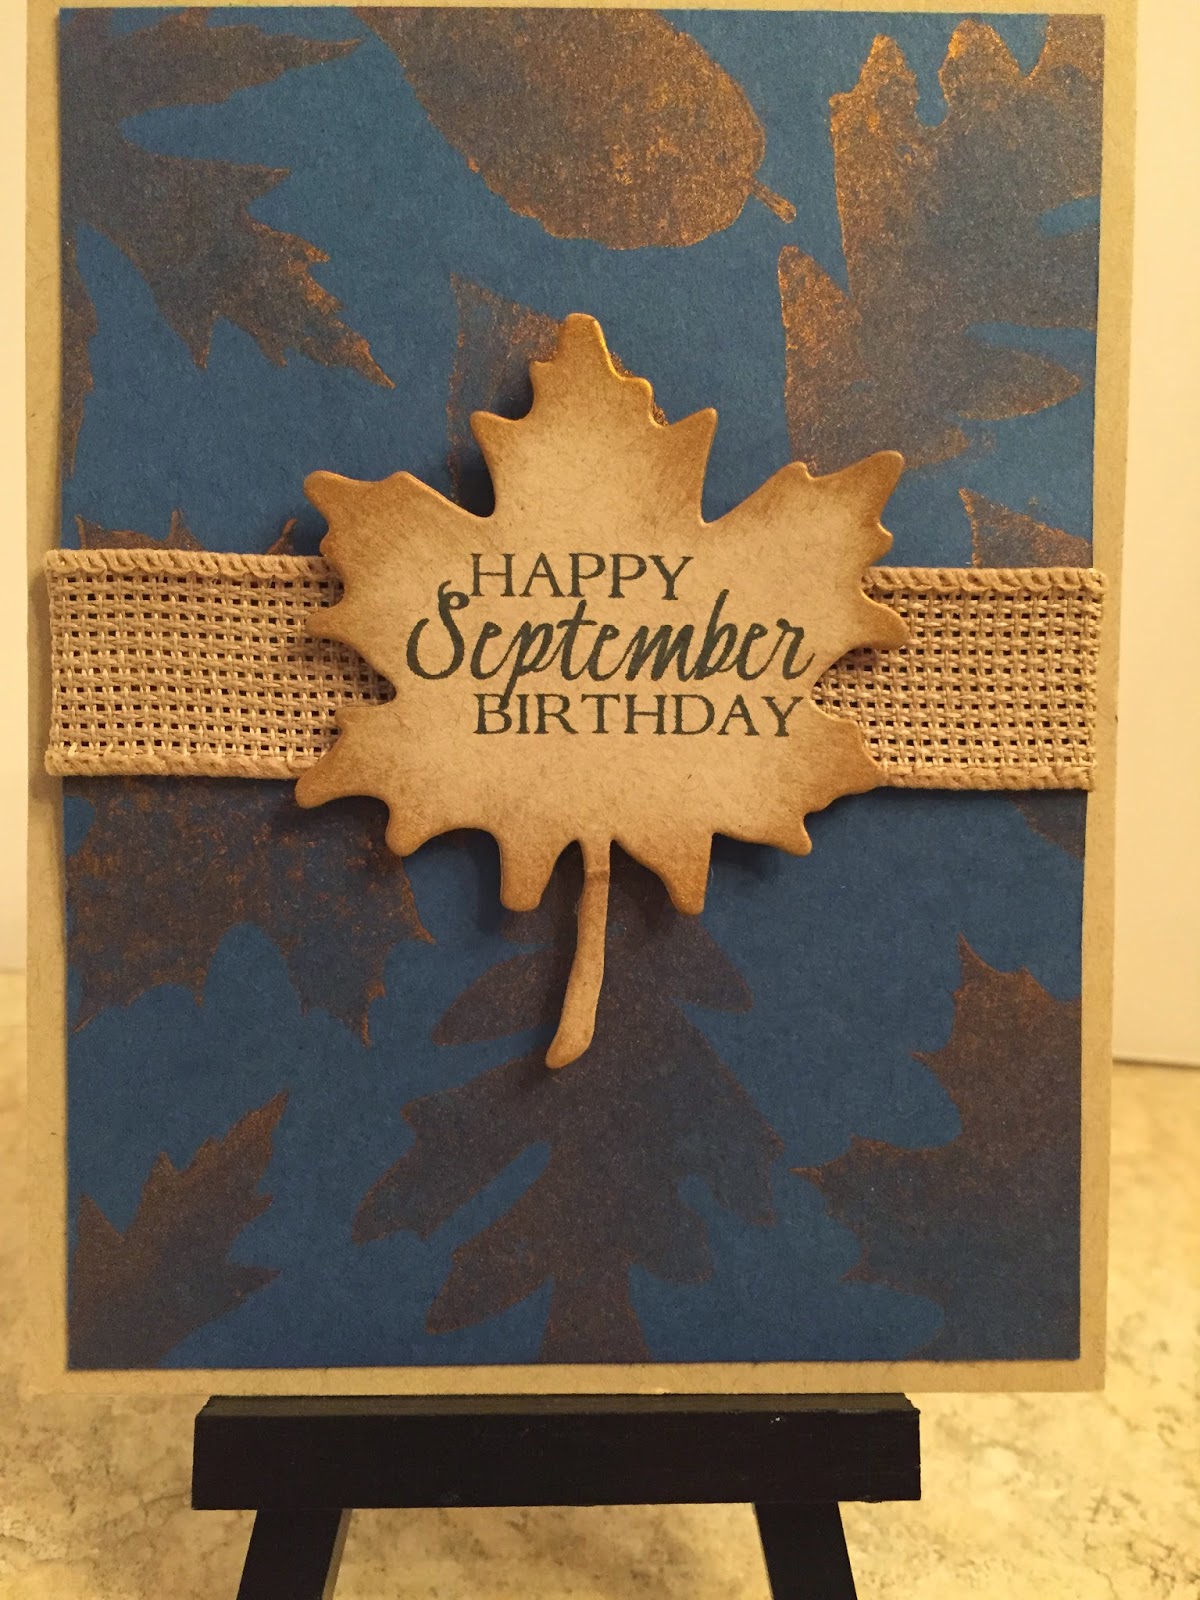
When I was making September I thought I'd use some burlap I had on hand but it just wasn't working. So I went to Michael's where I found this lovely burlap wired ribbon which I think worked perfectly.

I wish the picture accurately reflected the shine of the ink. I used a Colorbox Copper ink. It's pretty. Really pretty stamped on this Enchanted Evening (PTI) cardstock. The combo is very "autumn" to me. I was worried I wouldn't get through all the cards as the ink pad seemed like it was drying up and (gasp) I have no reinker for it.

(For the record, I pretty much make it a rule to buy a reinker when I purchase ink pads. Getting reinkers later is often problematic - which is why I made that little rule in the first place! LOL But I think this Copper Ink pad purchase was pre-rule ;-)) But I made it through 9 cards and there may just be life in that ink pad yet! (and the reinker is in my Amazon cart as we speak)

The leaf stamps and die are from Papertrey Ink's Leaf Prints set (oh how I love this stamp set!)

and the sentiment (3 different stamps) is from Birthday Classics: September (is that not the prettiest font for the word September? - yes, it is.).

I edged the diecut leaf in the copper ink as well.

If you're keeping track - yes, I still have the months of May and October to do (and of course November, December and January). May is on the drawing table half-stamped. October is sort of sketched out.  And I've got ideas floating around in my head for packaging. But hey it's only October right? I've got a little bit of time.

Thanks for stopping by!


Monday, October 06, 2014

30th Anniversary

I wish I could've gotten a better pic of this card but - suffice it to say it looks really beautiful in real life. Anywho...
It's that time again folks to share a card I made for my wonderful husband of 30 years. Really - 30 years - as of today. It is really hard to believe. On the one hand, it seems like yesterday. I can remember events in sortofa dream like way. Like a flashback on tv. Little snippets: getting pictures taken in the morning, the church wedding, taking more photos outside of church and again at the reception venue (missing the cocktail hour because of it ;-(), the reception - feeling almost in a daze and not being able to eat much, wonderful friends and family; going to see my grandmother in the nursing home - because she wasn't able to come, my husband and I drove over to the nursing home- me in my dress and my husband in his morning coat and all the inhabitants of the nursing home coming alive to see a "bride & groom" visiting - my grandmother so happy to see us all dressed up. It was a magical day. Thank goodness we have a lot of pictures to help us fill in the blanks :-)
And on the other hand - yes - it's been 30 years. A lot going on over 30 years.
30 years later - 2 children and life and death happenings filling in the intervening years.. I'm still feeling pretty darned lucky to have found this wonderful man to have spent my life with and hopefully grow old with.
Okay - that's enough reminiscing - on to the card.
This wonderful man loves travel and maps. And given that we spent 3 weeks travelling abroad this spring it seemed appropriate to pull out the travel and map stamps (Papertrey Ink Pack Your Bags and World Map; the Happy Anniversary sentiment is from Keep It Simple: Anniversary while the other sentiment is from Pack Your Bags ). I stamped and also heat embossed (gold suitcase hardware there) the suitcases. You'll also see some machine stitching on this card. And some foam tape to pop up those suitcases. And if you look really close you can see the wee little luggage tag from the set - I wrote in "30 years".
I know he will like it - there's a map! :-)
Alrighty, that's all for today. I need to get some things done today cos this girl is being taken out for dinner this evening and there's lots to do between now and then. Have a wonderful day!

Saturday, October 04, 2014

Thanks for Petsitting

I mentioned we were away last weekend - went to a nephew wedding. It was a really lovely weekend (except for the travelling part - 10-1/2 hours in the car each way. I guess we could've flown but there were 4 of us and that would've been a little cost prohibitive dontchaknow). Anyway - of course we engaged our favorite neighbor to kitty-sit. She is the best kid around - seriously. Wonderful girl, loves our two silly furballs (the feeling is mutual - they love her too.) When we returned I quick made this card for her. Using Papertrey Ink's Pack Your Bags stamp set and Herringbone Impression Plate. Not only does the stamp set have those adorable suitcases and luggage tag but it has an assortment of wonderful sentiments like the one here. Actually that sentiment is three sentiments put together so you've got a million options (well... maybe not a million but a whole bunch o'cute ones!). Okay... I think I've got a few more cards to share in the upcoming days - come on back k?

Thursday, October 02, 2014

Happy Birthday Sprinkle

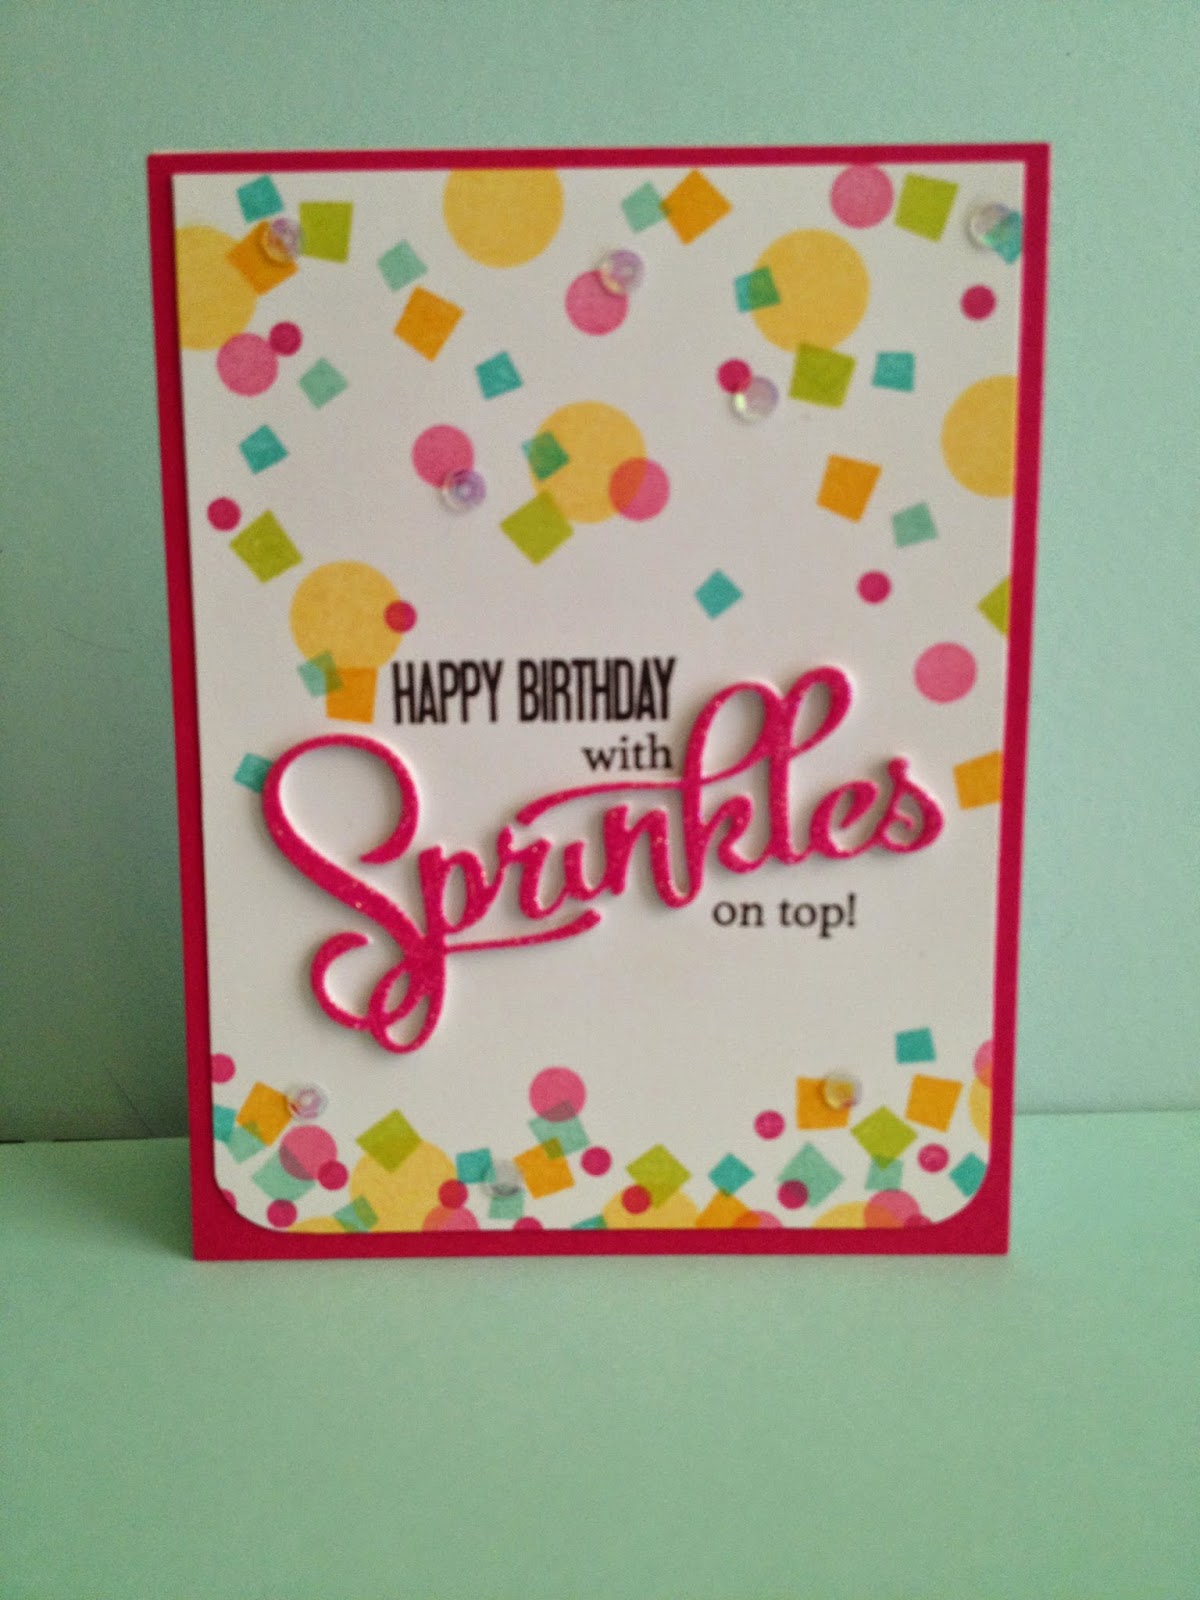
Yes I've been busy and too busy to blog. But I have been making things whilst having new appliances installed, taking extensive car trips to weddings in far off states, and various and sundry other adventures. I've also been taking an online card class - playing with Copic markers. All very fun but occupying every spare moment. I thought I'd jump on here to share a card I made recently using that Papertrey Ink Shakers & Sprinkles kit. I'm a little in love with the stamps and the dies and the wonderful papers in the kit. For this card I combined it with the PTI Cupcake Collection. I decorated the cupcake with some "sprinkles" (glue pen with glitter) and cut out the word "Sprinkles" using some of my beloved Doodlebug sugar coated cardstock. It certainly adds a wonderful bit of sparkle - so "birthday" dontcha think?
I'll be back with a few more cards soon.

Friday, September 19, 2014

Year of Cards: June


If you've been following along with my progress on the Year of Cards gifts, you may have noticed I'm not making the cards in any particular order. I look at the Papertrey Ink Birthday Classics stamp sets I've gotten thus far and pick a month at random - whatever I'm feeling like at the moment. I had been holding off on June's edition til now just because I knew exactly what I wanted to make. (It would be quick and easy and I could hold off til I had 5 or so months already completed was my reasoning.)

When the June set came out it was released with another stamp set called Summer Sweetness. I've used that set a lot since I got it. I just love the popsicles!

Anyway, Nichole Heady had created an adorable card with both sets as well as the Background Basics: Super Chevron set. And that's what I'm recreating here. I don't often recreate cards by others stamp for stamp, but this one was just perfect: it was simply designed, quick to execute and bright & happy.

I did make some changes - the color schemes - I wanted to try out all kinds of combos.
And I wanted to usethe Sugar Coated cardstock by Doodlebug for the popsicles. It adds a lot to the card I think.
And finally I used the Linen & Canvas Impression plate on the background cardstock. Just a nice little added detail.


Here's a pic of all the cards so you can see - none are exactly the same. I kinda like that. (Kind of like my Valentine Rak-a-rama cards - the snowflake effect - no two are the same.)

Okay - I'm moving on to May next. After that I'll probably be going in order: September through January. And finally fill the boxes with all the cards and come up with some kind of labeling. Should be fun. Stay tuned and thanks for stopping by!


Wednesday, September 17, 2014

Year of Cards: February

I've been working away at my "year of cards" gifts for the family. I've been working on June in the past week and realized I'd forgotten to post February's edition. I used Papertrey Ink's Birthday Classics: February stamp set and Scarlet Jewel patterned paper. I also used a couple of Papertrey dies: the heart border as well as the Monthly Moments: Spiral Notebook die. I was feelin it needed something else so I hunted through my stamps and found an older set from StampinUp! - a Sell-A-Bration set called Fresh Vintage. Not sure if you can see it in the photo but it just adds a little something to break up that space. And on this particular card (there are 8 of these cards) I used a distressing tool to rough up the edges. I made half of the cards using the Fine Linen cardstock you see here. The other half I used Soft Stone. Both colors looked so pretty with the Scarlett Jewel and I just couldn't decide LOL!
I'll post June probably tomorrow. Thanks for stopping by!

Tuesday, September 16, 2014

Sprinkles Birthday

 When this Make it Market Kit from Papertrey Ink (called Shakers & Sprinkles) went on sale - I was in Italy. When we got back from our trip and I saw it - my initial thought was - darn! But it took me about a second to say to myself - hey you were in Italy... ITALY. You are a lucky girl. If I was supposed to have this kit - I woulda had it. And, I got to go to Italy. Nuff said right?
Well there was such an overwhelming demand for this kit - they made more. And long story short - I caved. I mean how can you resist that word "Sprinkles" (not to mention the other dies in this kit. It's a wonderland of dies I tell you. And to a die-cutting fan like myself - it is a little bit of heaven).
Another wonderful thing in this kit (there are so many) is the little confetti stamps. Oh be still my heart. So stinkin cute it should be illegal.
And when I had the chance finally to get to use the kit - to make a birthday card for just the sweetest friend on the PTI board - Little Mabel (yes that be you Sandy!) - I jumped on it. I really wanted to do a shaker card (what the kit is all about to be sure) but my moments were limited and I wanted to get the card to her on time. (The kit does make the shaker a much more doable thing for sure but I really have to sit down and take my time - and that wasn't happening in the last week and a half).  For the sparkly Sprinkles die cut word I used some Doodlebug Sugar Coated cardstock - omg - that stuff is just awesome. So easy to use and fabulous results. No mess just cuteness! I added this side view photo so you could see the word die closer (I actually cut 3 or 4 out of white cardstock to get a little thicker and more stable die cut) and when i was done stamping and assembling I decided to throw on a few clear sequins to add to the sparkle.

okay kids that's all for today! Thanks for stopping by

Sunday, September 14, 2014

Thank You Glasses

We took a visit up to Baltimore to visit my husband's Aunt and I wanted to send her a thank you. She's one of my most favorite people in the world. When we visited, we went to lunch at a restaurant right on the water, then took a stroll around. She grew up in the area and knows so much of the history. It was a wonderful afternoon. We stopped back at her place and were getting ready to head back to Virginia when I realized I'd lost my clip-on sunglasses. I truly am lost without them - my eyes and bright sunshine don't get along. We looked a little but had to get on our way. Don't you know she called me the next day to let me know she found them and a few days later they were in my mailbox. She's a sweetheart. So I decided to combine my thank yous and made this card. I cut the glasses using my Silhouette portrait. The flowery printed paper is actually Hazel & Ruby wrapping paper - so pretty. I cut the scallop & banner with dies from Papertrey Ink. The sentiment is from the Banner Sentiments stamp set from Papertrey Ink as well.

Saturday, September 13, 2014

Birthday Buddies (Part 2)

Sorry I didn't get back here yesterday. Spent the day waiting for the new refrigerator that NEVER came. Oh now that is a story you will not believe. For another day when there is no longer steam coming from my head :-)
So where did I leave off - oh yeah Birthday Buddies. I am happy to report that the birthday corsage seemed to go over well - it was worn proudly and couldn't have made me smile more. Amy - if you're reading this - you're a sweetie (but then we know that don't we!)
Ok so my second birthday buddy - well she's such a dear that she has a slew of friends. One of whom got us all together to make a special birthday book for her. Literally friends from all over the world contributed to this gift. Everyone created pages to be put into book form. Quite a collaboration - but then she is quite a special woman. So my contribution was something like a shaker card that opened.
The first pic is what you would see when you came to my page in the book


Here's a closeup for you to see there's a little tab on the right hand side that says "Lift here". (The tab is a diecut from Quickutz.)


And when you lift up that page this is what you'll see


A little song, that we all know, to accompany the viewing of the main page below. (That main music image stamp is by a company that sadly is no longer in business. I just wrote in the words. I drew the little banner at the top.)


Since this friend is known for her beading I felt compelled to create a shaker card with beads. It was quite a sparkly affair.
And how can someone not enjoy a shaker card, I ask you?
(The stamps on the cover page and the "wishing you a very happy birthday" die here as well as the balloons in the background behind the beads - all from Papertrey Ink)

Ok - that's all for today. Thanks for stopping by!

Thursday, September 11, 2014

Birthday Buddies (Part 1)

All the time I was growing up I never knew anyone who celebrated their birthday on the same day as me. But in the last few years I've met a few. Crazy huh? One of them is far away and one is very close by.
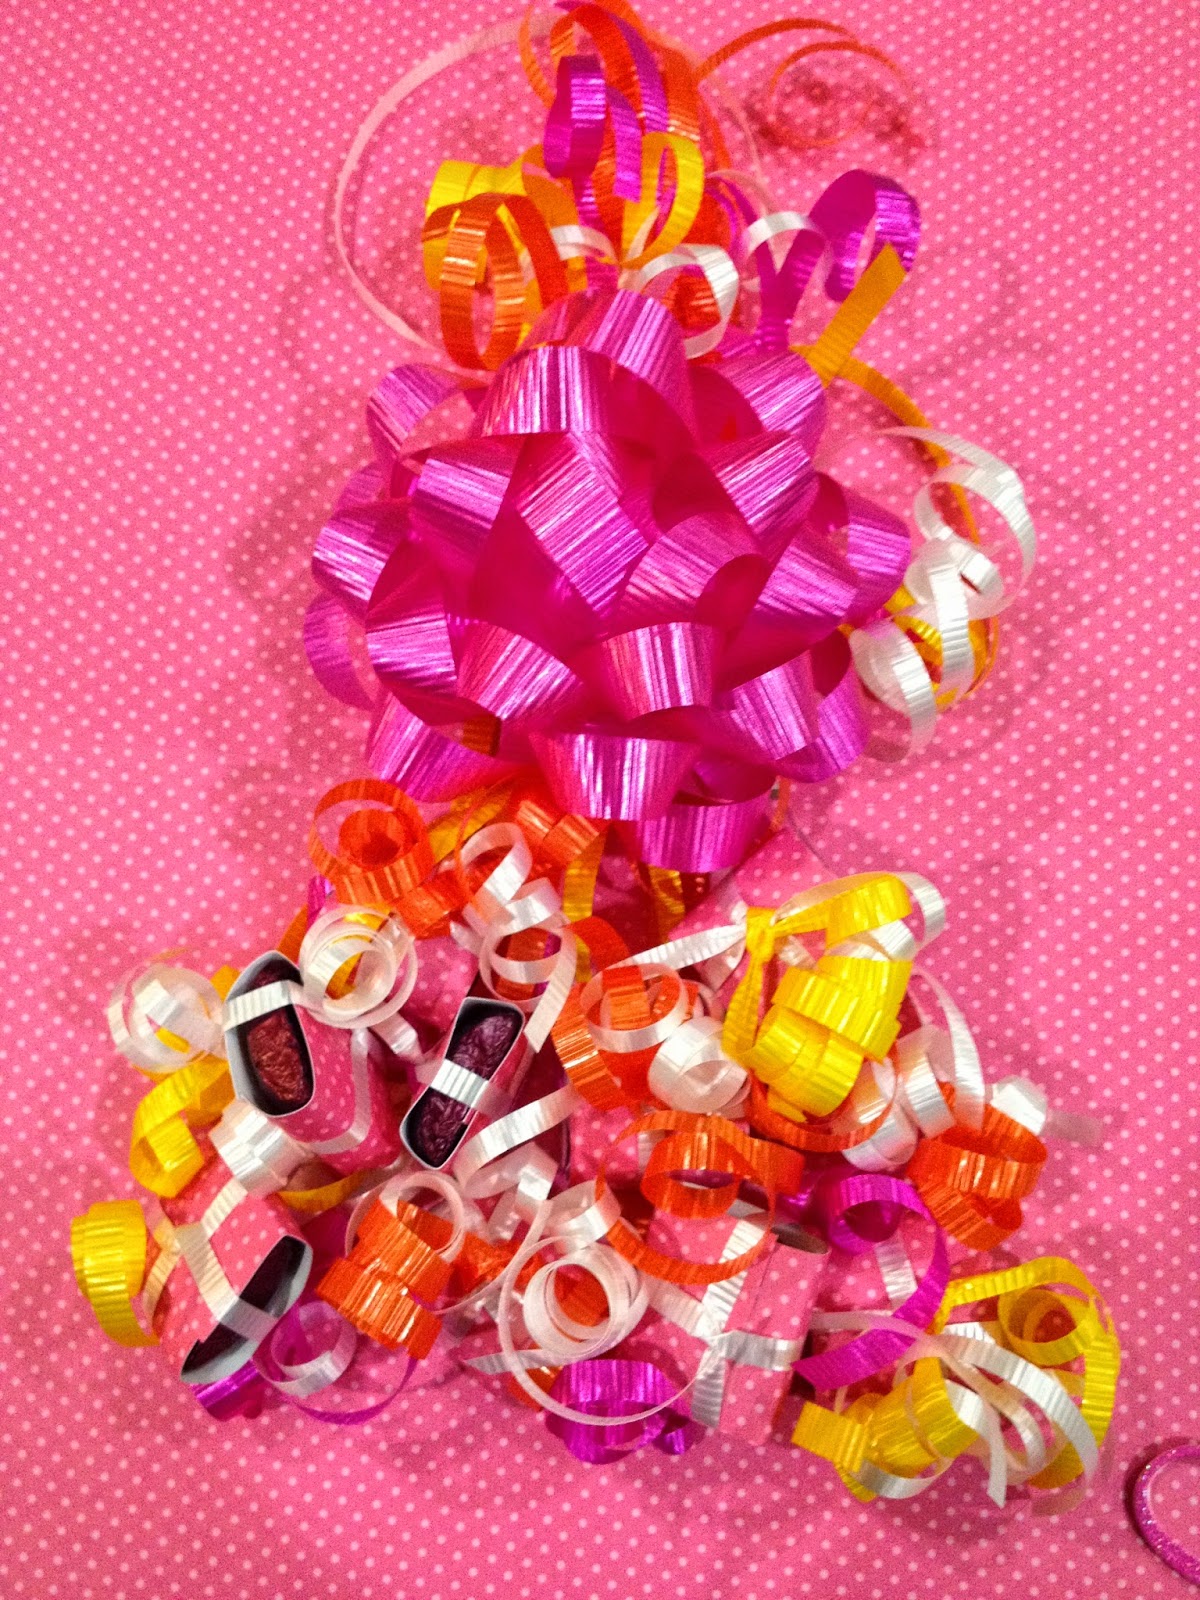
The friend that's closeby I will be seeing today - we're having a little gathering at a friend's house. And I'm bringing along a little gift for her. I should note this birthday buddy is a good bit younger than myself LOL but I've made a crazy little gift for her. A blast from my past - ze birthday corsage. When I was in 6th and 7th grades these were all the rage. A big old bow to which you attached candy - the popular candy choice at the time was bubble gum. Or chewing gum. Here and there you'd get some Lifesavers but gum was big. These assemblages were total have-at-it deals. Long streams of ribbon with gum attached. It was kind-of-a big deal at my school - friends would make you these corsages on your birthday. You might be wearing 3 or 4 of these corsages and it was a hoot.
For my birthday buddy,  I decided to skip the gum and go hard-core - chocolate - lots of dark chocolate and a ton of ribbon. And I made a tag to go along with her chocolatey corsage. I used the Shakers & Sprinkles Make It Market Kit from Papertrey Ink. There are a number of amazing dies in this kit - but the word dies are so beautiful. That word "Sprinkles" is one of those dies. I cut it out of glitter paper - pink and sparkly! (I also die cut the word out of white cardstock 3x, glued them together and then sponged on some pink ink to cover the sides of the diecuts then adhered them all to the back of the glitter diecut) The tag is PTI's Tag Sale #6 - one of my favorite tag dies to be sure.  I used some of the confetti-type stamps as well as the word stamps to finish up the tag. Such a great stamp set.
I tried to get a pic of ze corsage. The pic really doesn't do it justice :-) If I'd had more time it woulda been an epic corsage but this, I am sure, will be met with a few laughs. Each piece of candy (Hershey's Bliss Dark Chocolate) was wrapped in PTI's Hibiscus Burst Bitty Dot paper then tied up in curling ribbon (Hallmark).  I just have to attach a large safety pin and make the birthday girl wear this whilst we celebrate! It's all in good fun and I think she'll really be amused.
Tomorrow I'll share the little greeting I sent to my other Birthday Buddy. It's really a collaborative effort. You need to come back and see :-)


Tuesday, September 02, 2014

Papertrey Ink Make It Monday: #178 Easel Card


Today I decided to give this week's Make it Monday challenge a try. I loved that easel idea and it's good to try something different - get those creative juices flowing right? I cut my easel using a few of the Fabulous Frames dies (cut out the "legs" with the largest frame die and then added one of the detail dies). Then I used the Woodgrain Impression dies to give my easel a little more authenticity :-) I also cut a few strips to use at the bottom of the easel to create the ledge. I sponged on some Kraft ink onto the Kraft cardstock to bring out the woodgrain. Now onto the image area. I decided since my kids aren't in school anymore, I'd make a card for a friend who has been ill. I wanted the easel to hold a little work of art (the whole easel thing was making me flashback to one of my studio classes in college anyway). I used some watercolor paper and stamped the image and sentiment from the Autumn Abundance stamp set. I love that set. Such beautiful images. Then I set about watercoloring it using inks from PTI: Scarlet Jewel, Harvest Gold, Fine Linen and Kraft. The green is Old Olive from StampinUp. Anyway I really like how it came out - love those Make it Mondays!

I wish the second photo could've been better but wanted to include it anyway so you can see how this little card looks standing up. So cute.

Sunday, August 31, 2014

Sending a little sunshine

Hi there.
I mentioned I was away on vacation for a week. When I got home I listened to voice mail and discovered that a family friend was in the hospital. Not exactly the news you're hoping to hear when you first return home. However, a few phone calls later I was happy to find that he's in much better shape and is on the mend. I wanted to send him a little card so he knows I'm thinking of him. (I wish I could visit but it's many states away so I shall have to bombard him with cards :-))
Here's what I made this morning. I went back and forth on whether or not to include the clouds but I decided I liked it better with them. I am a little obsessed with this stamp set from PTI called Hello Sunshine. It's an oldie but a goodie and the sentiments are just so perfect. And the rays of sunshine are just so fun to play around with. I used those stitched rectangles from Lil' Inker Designs again too. The cloud dies are also PTI.
I'm hoping to get a little more stampin/scrappin time in today. While I was away I missed it so. It's good to take a break now & again but I'm so happy to be amongst (is that a word?) my stuff right now. Fingers inky and all. Have a good one!

Friday, August 29, 2014

I'm baaaack..... and a thank you

I've been on a little vacation - at the beach house in Delaware. And it was wonderful. Family and beach, good food, games - a truly wonderful time. But I gotta admit I was ready to come home. I missed my house and my kitties.
Speaking of kitties - they don't do beach. But they have the best time with our neighbor - well actually she comes to them LOL. She's the best kid and the best kitty sitter ever. She loves to play with them and I always feel they are in good hands while we're away.
So they (I LOL) made her a card. To say thank you. The kitties (Westley and Willie) also love to stamp so they hauled out my stamps, inks, cardstock. The die cutting is a little tricky but they managed it. Here's what they came up with to thank their favorite friend. No surprise they picked the Cat's Meow stamp set from Papertrey Ink as well as the Keep It Simple: Thank You sentiment set, right?  That's Willie (short for Wilhelmina) on the left and Westley on the right.  They colored the images with Copics and Prismacolor pencils. We all think she'll like her card. Okay. I need to get back to the piles of laundry that have accumulated over the past week. Thanks for stopping by!