Wednesday, May 15, 2024

I'm still here - but with a COMBO! Jingle Belles #JB2409 & JB2410

 Yes, I'm still here but by the skin of my teeth.  Real life gets in my way a lot and takes me away from making cards. This time included a non-vacation type trip away but now I'm back and making up for it. It's a Jingle Belles two-fer kids!

 Since I didn't get to make a card featuring Santa for JB2409, I decided to combine it with the current cardstock only challenge JB2410. So fun I made two cards which I like to think absolves me of my tardiness. (yes, I'm joking).

For the Santa HoHoHo card I stamped the Heidi Swapp Santa from the Christmas Fun set in a pattern to create my own patterned paper. The hohoho were cut using my ancient Quckutz Studio alpha dies - classic typefaces don't go outta style right? Makes a very C&S card


Next card, I created my background using another Heidi Swapp set called Merry Little Christmas - I just love that candy cane stamp and it was very easy to create a pattern with it. I think one could create endless combinations with that stamp alone. I also stamped a tiny tag with another candy cane stamp from the aforementioned Christmas Fun set. The tag die is from Sizzix. The red banner die and the alpha dies are from Papertrey Ink. Finally, the gingerbread boy die is  Sizzix and I used a Posca pen to draw in a face 


I did have a lot of fun with this challenge and I am very glad I was able to make up for last time. I hated missing out on the last challenge. Thanks for stopping by and looking. 


Saturday, April 20, 2024

Jingle Belles Earth Day #JB2408

 Ah yes Earth Day. Does anyone else remember the first Earth Day? It was 1970 and yes, I remember it well. It was not met with that much enthusiasm at the time - or at least that's my recollection. I remember when it was discussed it was a little bit too "granola" for some. IYKYK. Those were funny times. 


Regardless, this was a head scratcher for me in that I don't keep too much extra stuff on hand. I'm on the "use it up" train. I definitely have supplies I'm trying to use up. And while I was looking through some things I found a card I'd saved because I loved the image. So the main image of the kids decorating the tree is that card front I'd saved. I used some old patterned paper for the background. That paper prompted me to see if I had any die cuts and sentiments in a box of Anna Griffin kit leftovers: I did!  The sentiments were popped up with foam on some green shapes. I took that apart and sandwiched the star diecut in between. I mounted the main image on some red cardstock then used the gold german scrap trip to sparkle it up a bit. That's pretty much it.

I'd love to try to make another card for this challenge but suffice it to say my life is not completely my own - I barely got this card made LOL. But I'm gonna keep playing. Thanks for stopping by.


Sunday, April 07, 2024

Jingle Belles JB#2407 Cookie Inspired Christmas

 I am back for more Jingle Belles fun - just by the skin of my teeth. 

Considering the inspiration were some absolutely gorgeous cookies and that my middle name during the holidays is Cookie, I was suprised how long it took for me to come up with my card. Sure there were some life distractions. But in the end, I made cookies. (something I frequently do in real life!)


I used dies to cut out shapes that became the icing for my cookies which I cut out of kraft cardstock. I browned the edges with some chalk.  I painted the cookie icing die cut shapes with watercolors. Used some enamel dots for berries or tree lights. Finally I took some silver metallic cardstock to create a cookie cooling rack.

Thanks for stopping by - happy card making!


Tuesday, March 19, 2024

Jingle Belles Bling on the Holidays #JB2406

 While I may enjoy it, I don't have a ton of "bling" in my stash. I'm not a blingy card maker. I do like some sparkle and glitter on occasion,  so that's blingy in my book. And I'm a big embossing powder fan. With that said, I give you my entry into this weeks challenge featuring bling. I used old stamp sets from Papertrey Ink and the now defunct Feed Your Craft for the snowflakes, Mama Elephant for the sentiment, and snowflake dies from Papertrey Ink, and my new die (Thanks again Jingle Belle Queens Lauren and Stephanie) from Memory Box. The top layer of silver snowflakes were diecut from a silver metallic cardstock. The embossing powders are in silver as well as that Wow White Twinkle embossing glitter. And I drew the box around the sentiment with a Uniball Signo silver pen. With all that sparkle going on it was difficult to photograph so hopefully all the photos below will convey that bling.


Thanks for stopping by and taking a look.

Friday, March 08, 2024

Jingle Belles Holiday Cards to Die (Cut) for # JB2405 Take 2

 I'm sure in the future there will be times I don't make a second card - making one card for that particular weeks challenge will be more than sufficient. But not THIS week LOL. I'd be making more if lif e didn't get in the way! But - as you all know - I digress.

I perused my collection of dies that fall into the Christmas category and there are a bunch. I decided upon an old Papertrey Ink Snow Globe die with accompanying stamps. I created a shaker card using clear sequins but I wished I'd added more before sealing it closed. A number of the sequins seem to have gotten stuck in the layers that create the scene inside the snow globe. Not much to be done now, but I did decide it could use a bit more sparkle. I sifted through my supplies and got a bit of a crazy notion. I took a clear white sparkly pipe cleaner and glued it around the opening creating something of a sparkly frame. It looks every so slightly wonky in the photos but it's pretty darned cute in real life so I'm good with it. Thanks for stopping by and taking a look!


Monday, March 04, 2024

Jingle Belles Holiday Cards to Die (Cut) for # JB2405

 Dies and die cuts - I got 'em. It was more which one to choose. I imagine I may make a few cards for this challenge but I started with an old die and stamp set from Papertrey Ink.  Phrase Play #9. I wanted to try some metallic watercolors I have - I was thinking of sparkling shimmery  snowflakes. I also used an embossing folder that hadn't seen much love in a long time. 


The first photo hopefully gives you an idea of the shimmer of that metallic blue. It's prettier in real life. Anyway that's all for now. Thanks for stopping by and looking. 

Saturday, February 24, 2024

Jingle Belles Text Me Challenge Take 3

 I know! not only is it almost the end of February but now I've gone and done a third card for this challenge. (Actually I had 4 potential takes on this one card but selected the one below as my favorite and the only one I turned into a card but I digress...)

Lauren made her 2nd card and it brought to mind a stamp I own that hasn't seen ink in years. It's a very old one from Stampin Up! that I'd always liked very much but hadn't been too successful using. I decided to give it another try. 

I embossed the image using versamark and a Hero Arts Gold embossing powder. Then pulled out a few  different sets of watercolors - Gansai Tambi regular as well as Starry Colors and a set of Prima Metallic Accents. I wanted alll the sparkle. I did try a few different color combinations - and the one you see here was the most successful. I'm glad I finally got a card out of this stamp! Anyone else have some stamps in their collections you haven't been able to make work for you? Thanks for stopping by!


Thursday, February 22, 2024

JIngle Belles Text Me Challenge Take Two


I decided I'd like to make another card with text and am hoping this qualifies. Even so, I'm pleased with it. To create the background I used an old Papertrey background stamp called "Background Basics: Christmas Joy". Those background stamps are in reality only 5-1/2 x 1-1/4 inch strips requireing you to stamp repeatedly to get your background. (It takes a bit of practice - fortunately I don't mind LOL). I chose to emboss the background  and sentiment with white embossing powder. The images and sentiment are from a set called Sweet Holiday Greetings from Your Next Stamp. It's an old but very cute set. All images colored with copic markers. Thanks for stopping by and looking.


Tuesday, February 20, 2024

Jingle Belles Text me challenge

 It's almost the end of February and I'm still plugging away. Whodathunkit?


I looked through my stash and found a number of papers with text. This one is pretty old from a company called Creative Imaginations. I decided to glitter up some die cut snowflakes and added them to the card. What you can't see is a strip of glittered up cardstock at the bottom of the card. Oh well - if I have a chance I'll take another pic.  Right now I have to run!

Thursday, February 08, 2024

Jingle Belles Rudolph #JB2403 take 2


When I decided to do Jingle Belles after all these years, I gathered up all my Christmas items: stamp sets, papers, embellishments of all kinds. I wanted to make sure I use it all up - or at least make a good dent. Let's face it - NEW stuff is fun, right? But I have had a lot of stuff tucked away for years waiting to be used again. 
I remembered I had a box of leftovers from some kits I had from Anna Griffin - must be at least 10 years ago. So my second go at the Red challenge is using some of those leftovers. I had a bunch of card backs, patterned papers, and embellishments. I took apart that piece of holly - it was about three layers thick. It worked a bit better once it was flat. I did the same with the sentiment piece - it was 2 layers thick and wasn't working well on top of the rosette I created until I did a little surgery. Anyway it was good to use a few pieces but I really need to make more from those leftovers (it was a very generous kit LOL) . Anyway another week down - can't wait for the next challenge! Thanks for stopping by.

Saturday, February 03, 2024

Jingle Belles #JB2403 Rudolph the Red-Nosed Reindeer

 I saw the prompt for this week and immediately had a flashback to the first time I saw Rudolph the Red-Nosed Reindeer on television. Coincidentally it was the first time it aired. Go ahead look it up - yes that was quite a while ago - and it was just magical. Sort of like the poem our Dad would read on Christmas Eve - A Visit from St. Nicholas. I think a lot of parents read that to their kids on Christmas Eve. 

So I started sifting through my stash for RED -
patterned paper for starters. And what to my wondering eyes did appear? Some great RED papers - especially the one you see I used as the background of my card. Beautiful vintage images in RED and cream by a now defunct company called Daisy D's. Also additional plain red paper at the top and bottom. 

I stamped out the small words with Fired Brick Distress Ink - onto some scraps of the paper and cut them out. The chipboard piece is another ancient item from my stash - from K&Company. 

And that's that for now. I've got some other RED ideas I'd like to try out. Thanks for looking. 

Sunday, January 28, 2024

Jingle Belles #2402 Something Old/New Take 2!

 As I mentioned in my previous post, I don't have a lot of new stuff. I did buy some stamps and dies a few months ago but no time to use them. I imagine I'm not alone in having lofty goals of making some things and then all the plans go out the window due to whatever is going on. So with that in mind - I'm using something old and something older still. I don't think anyone is gonna call the Jingle Belles Police on me - whaddya say Lauren and Stef? ha!  

So last year I picked up some Heidi Swapp patterned paper called Hometown Holiday.  In this card I used some of that paper: I cut the word JOLLY out of one piece and used yet another piece for the background. For my something older things - the Sizzix die for the Christmas tree (which I cut up and put back together - cos ya know why leave it be when you can redo it?) The shimmery cardstock is also from the ancient section of my stash along with that star brad. The little Christmas mice? They're an older set from Papertrey Ink - and the stamped words are from a coordinating stamp set. And of course, stitching. 


I am pleased with this one - the little mice are so stinkin cute I'm glad I got a chance to use them. I suspect they may turn up in another card someday soon.

Saturday, January 27, 2024

Jingle Belles #2402 Something Old Something New

Hello again friends. I know. I'm back again. But to beat my previous record I've got to at least get to February. That said, on with the show. 

I gotta be honest. Most of my stuff is old. Have I stopped purchasing? Seriously LOL no. But I definitely stayed away from Christmas related things. Why? I've got a bunch.  And indeed I bought a Heidi Swapp stamp set (I believe) in November. I knew I wouldn't be making cards this past year. I stopped putting that particular pressure on myself years ago. I bought it because I knew I use it in the future for other things. Maybe just for tags - who knows. The set has classic elements that always appeal to me so I bought it no regrets. But I did want to use it soon. Enter this challenge. 

So that stamp set is my "new" but what about my old? The washi, the embossing powder, the prismacolor pencils.  

I'm hoping to get another card made before the end of the challenge but not making any promises. Thanks for taking the time to look. 

Monday, January 15, 2024

Jingle Bells 2024 and yeah, hello

 Okay so the last time I posted here was perhaps 9 years ago? Yeah I think so. Then I posted for a while on Instagram. And I guess I could post this there but  not for now. But to those of you who have found me after all this time: Hi. Nice to see you or meet you or whatever. 

I'm posting today because after a long time of not posting drawings or cards I've made I thought it would be fun to join in again with Jingle Bells: that wonderful holiday card challenge where you made  holiday cards all year long so by the time December rolls around you have quite a pile of cards. I will admit I've joined in before, years ago. I lasted 5 weeks. I'm hoping this time I can continue for the duration. 

So the first challenge is called Wrap It Up - you use wrapping paper to create your card(s). I pulled out some scraps from the wrapping paper container before I packed it away a few weeks ago and got to work. I've made 3 sets of cards. No doubt this over-achieving will stop soon so don't be concerned. I made a total of 8 cards.


The first card has that black background with metallic print for the "Merry Christmas". It was a favorite paper this year. I found some of these larger glittery poinsettia's in my stash which I thought would work well. And I stitched around the edge of the cards.

The second set of cards used a penguin wrap from a few years ago. I found some penguin stickers in my stash to decorate the small tags. I stamped a small sentiment from Purple Onion Designs on the tags. And finished it all off with some stitching as well as bows made of some bakers twine from Target (and some glossy accents to keep them in place).

The last set of cards were using that snowflake paper. The aqua, gold and off- white are such a pretty combo. I found some wood veneer snowflakes in my stash. I used Versamark and gold EP to change them into a pretty gold which would complement the paper. Threw in some gold and white sequins to add to the sparkle. Finally I stamped the small tags with stamps from Papertrey Ink and again used gold.

Forgive me- this is not looking great. It's been nine years since I've posted on here LOL. I'm lucky I could remember how to use Blogger. Truth be told I'm posting here so I can hold myself accountable. So I'm posting here and am going to link up to the Jingle Bells challenge for the week. That's one down for me!  Til next time!

Monday, August 31, 2015

Drawing with color

Hello friends! Hope your summer has been wonderful. It's almost September! How did that happen?
I'm here today to share some cards made for a challenge. My favorite artist is Henri Matisse. I have had the good fortune to see two exhibitions of his work in my lifetime. Once at the Museum of Modern Art in NYC and more recently at the Tate Gallery in London. The show in NYC was a retrospective of his entire body of work and in London the show was just focusing on his famous cutouts. And that is what led me to creating this challenge.
Matisse said

“The paper cutouts allow me to draw with color. For me, it is a simplification. Instead of drawing an outline and then filling in with color-with one modifying the other-I draw directly in color...It is not a starting point, it is a completion.”

I asked some crafty friends to join me - in drawing with color - using shapes and color. 

Being cardmakers we use a lot of punches 

and dies to make shapes all the time, right?

I decided to use some dies and a punch to create the cards you see here.

The first card - I took some watercolor paper and a reinker and smooshed the color all over. I used my punch as I like to think Matisse used his scissors to cut out the colors and shapes I wanted. I arranged them in a square and used a starfish die and sentiment to complete my card. In this closeup you can see the colors and shapes in each shape that I punched out


 In this card I used a leaf die from PTI- very Matisse like shape don't you agree? I like to think this card has some of the movement of the shapes I see in many of Matisse' cutout pieces.


In this last card again I used a leaf die (as well as an impression plate for the background). I used more of that inked watercolor paper but also foiled one of the leaves with my Minc.


Okay that's all for today. I hope, if nothing else, you'll go online and look at Matisse's cutouts. Google it - you'll see so many beautiful pieces of his. The shapes are beautiful.
I hope to be back to blogging on a more regular basis. In the meantime however you can find me daily on Instagram

Monday, August 10, 2015

Challenges: 365 Doodle and Popup Challenge

Hi there kids! Yes I've been a bad blogger. I'd like to blame it on summertime - yes let's blame it on that! The schedule is off you know? I would like to invite you to follow me on Instagram as it's quite easy for me to post things there on a daily basis - and really its a whole lotta fun. I've been participating in a 365 Doodle Challenge run by a wonderfully talented illustrator, Johanna Fritz. Not only is she amazingly talented,  she's also such a friendly and supportive soul.  As a matter of fact, I'm finding the Instagram community a very positive and supportive group. If you like to draw or doodle the 365 Doodle Challenge might be for you - check it out!

Another Challenge that is coming up this weekend is The Daily Marker's Pop Up Challenge. It's going to be a lot of fun - and there is a giveaway right now on her blog. Over the weekend she'll have videos and prizes so it would be a great time to get out your stamps and markers and play along!
The Daily Marker - Kathy - also runs the 30 Day Coloring Challenge I participated in twice over the last few months. She's got another one coming up in October. If you like to color - this is definitely a challenge you don't want to miss.
Okay, I need to get going - errands to run, doodles to doodle. Thanks for stopping by!

Thursday, July 16, 2015

Let's Play: Turning solid stamps into one you can color

Hello friends! Yes I'm back today with something I've been playing with over the past few days but I've been thinking about for a while. Get your favorite beverage and set a spell.....
I love to draw and color. And I've been doing that a lot lately - especially with Kathy Racoosin's 30 Day Coloring Challenges (if you don't know about these - please get yourself on over to Kathy's blog and do a search pronto!). And it's been so much fun. While the challenge was going on - and I wasn't drawing something to color or using some stamps to color - I discovered something. I have a LOT of stamps I cannot color. The horror! I have a lot of stamps and the vast majority are solid image stamps. Meaning there are no lines - you stamp a solid color. Now of course some of them are 2 step stamping sets that add wonderful dimension but, in short, there are no lines. I thought I wish I could use some of these stamps in the challenge.... but how? They aren't the kind of stamps you can color in with markers, pencils, or watercolors. Then I had an idea. I'm sure someone else has had this idea but I haven't seen it anywhere. It's actually kind of the opposite of the "no-line coloring" that's so popular now - except you're putting in lines. Follow me....
So here's an image from Avery Elle's Petals & Stems on the left. On the right - same stamp!
The flower on the left is stamped as is with a dye ink. The flower on the right - stamped as is with Tim Holtz Distress Ink, inked (basically tracing the image) with a Copic friendly pen then colored with Copic Markers.
Crazy right? Completely different look and all from the same stamp!
Okay you want to see another???
This time it's one of my favorite stamp sets - Papertrey Ink's Cutting Garden It's just got the prettiest flowers and leaves! It's a bit more elaborate than the stamp above so let's see what happens with that shall we?
Here I stamped using the set as is - a couple of different inks and a little masking to put the small flowers and leaves behind the larger image but pretty straightforward stamping. (The sentiment is also PTI - Graceful Greetings for the record). You'll note there are white lines indicating the petals - but that's where the stamp didn't stamp if you follow me - the negative. No lines.....
Okay now let's see what it looks like when I want to make it a stamp I can color in with Copics!


Pretty cool huh? It looks completely different doesn't it? Again, I stamped with a Distress Ink (Fine Linen), then used a Copic Friendly pen to trace the petals and colored it with Copic markers.  Just for the record my Copic friendly pen for this isn't a Copic - it's a pen I draw with - it's a Pilot G-Tec-C4. Love that pen. But I've used it a ton and it works perfectly well with Copics.
Okay - are you curious about what would happen if you wanted to watercolor using this technique? I'm so glad - I tried that too!


And here's what it looks like colored in Zig Clean Color Markers and embossed with white embossing powder. Kinda pretty. I had to do this a little differently - using a Zig Embossing Pen - which I don't think are available anymore. It's basically the same as a Versamark pen (I couldn't find mine). You draw with the embossing pen over those lines in the stamp then add embossing powder, heat with your heat gun and go ahead and color. I did try with clear embossing powder - it works nicely. I'm not showing a sample here because again I had to use the Embossing pen - and that ink has a blue tint to it - and that blue tint stays trapped under the clear and you get pale blue lines - here with the white embossing powder you see none of that.

Just so you can see what it all looks like before I added color to the images here's a few pics I took while I was trying all of this out.

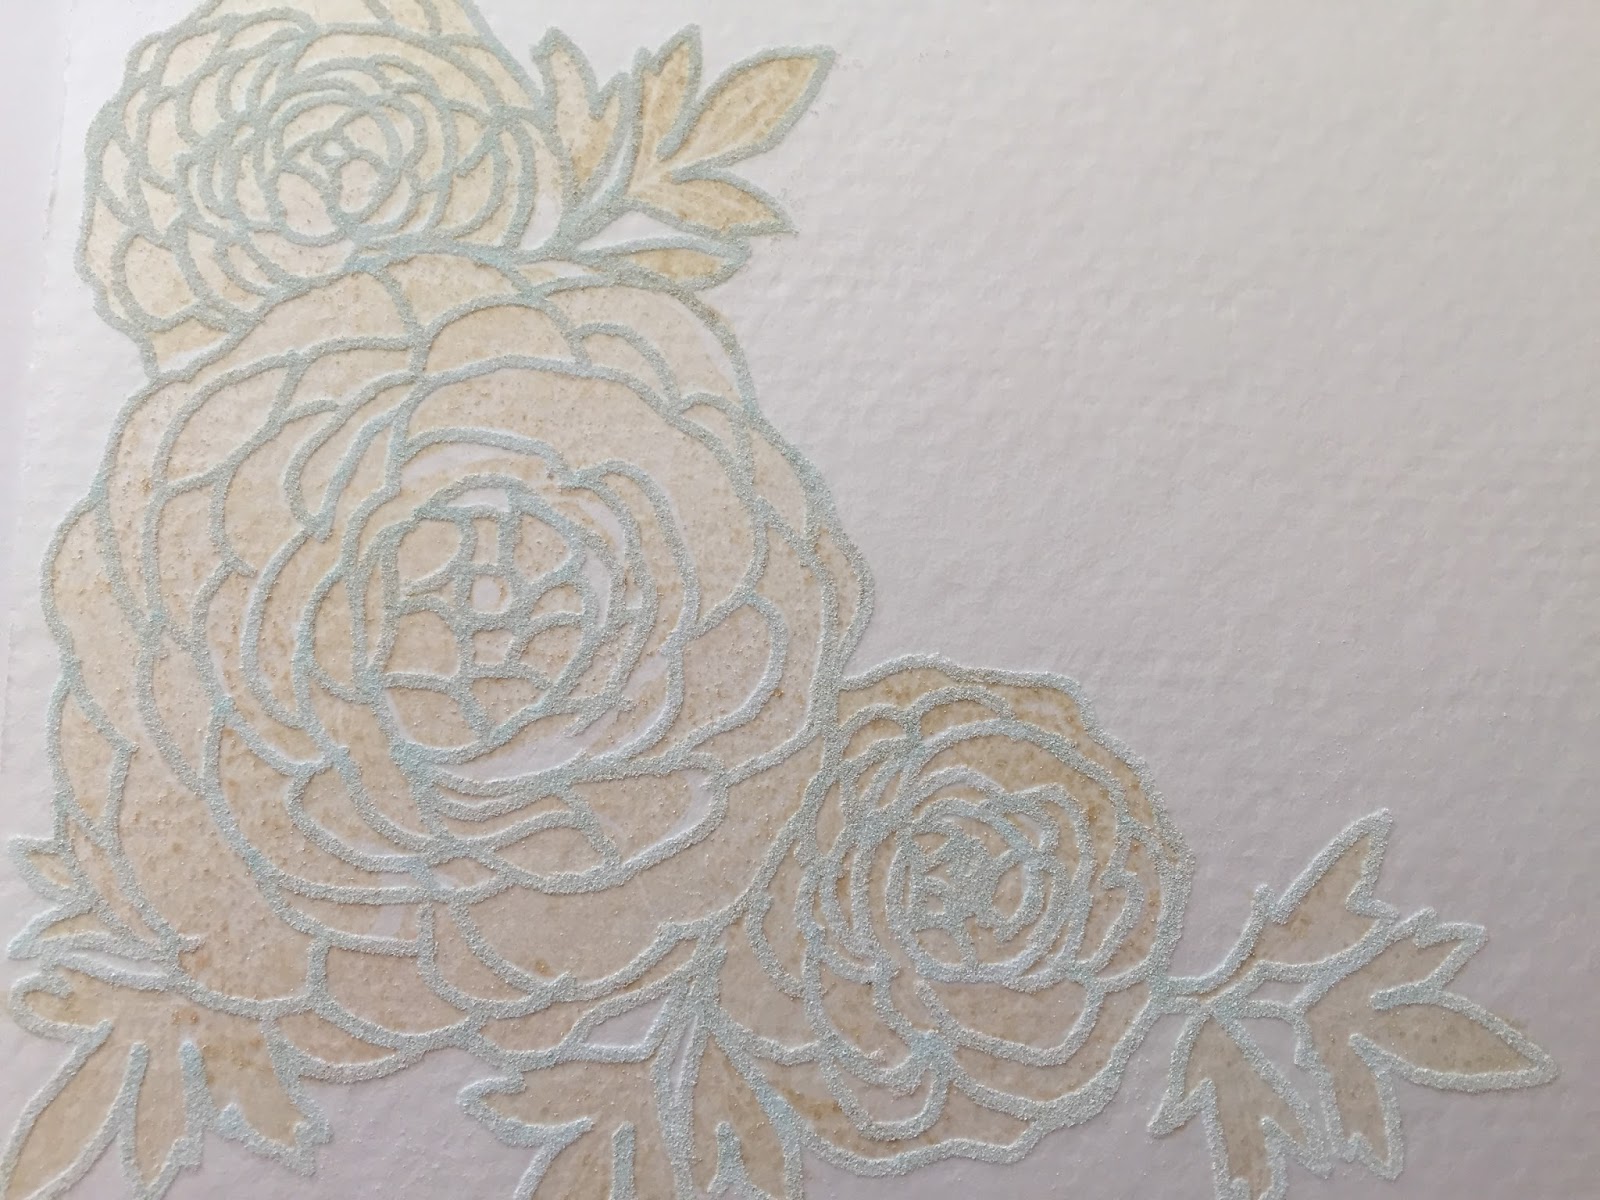
When I started with this I pulled out a few stamp sets. This rose is from Papertrey Ink's Rosie Posey. I stamped the rose in Fine Linen Distress Ink and then added the pen. I'll don't have a pic of the colored rose. I was going to watercolor this rose - stamped it - then inked with my Pilot pen - should've used my Pitt Pen which is waterproof - so you know how that went. I had the black ink running - ugh. I shall have to go back and try the rose with the Pitt Pen in watercolor because I think it would be pretty beautiful.


 I hope you can see this. This is before I heat embossed the image and added color. You're seeing the distress ink and the embossing powder there. When you color it in the Distress ink really isn't an issue


And here's the image stamped in Fine Linen Distress Ink, then inked in pen before I colored with Copics. I think besides coloring with Copics I loved this part the best. You really don't have to be someone who draws on a regular basis. You are just pretty much tracing what's there. And you can edit if you like. Say you want fewer petals ... you just draw in the ones you want! I was a little concerned having that much Distress ink in contact with my Copics. I happen to have a duplicate of one Ciao marker - so I tried with that first - thinking if it got ruined I always had the other pen. I swear it did not damage my pen.
So what do you think? I think I can now get a lot more life out of the stamps sets I own - and that's an amazing thing! And when I purchase solid stamp sets in the future I've got another technique in my arsenal to color them any way I'd like. Yay!
Okay that's quite enough for today right? I'll close saying that Kathy Racoosin is hosting another Coloring Challenge in either September or October - and if you love to color - you need to join in the fun! And please come over to Instagram, if you haven't already, follow me there - say hi okay? I really would love to know what you thought about today's post - can you comment below please? Thanks so much for stopping by!


Wednesday, July 15, 2015

Cat card

Hello friends! 
Not feeling creative in the post-titling department apparently right? LOL
Just wanted to share a card I made yesterday. I got off schedule with my "Dear Ones" cards. Too much stuff going on and being away at the beach threw me off schedule. And I really wanted to send my husband's Aunt a card. She's also a cat lover. 
I'm sort of in love with this line of stamps from Stampendous - called Pen Pattern. Everything looks like a doodle sorta. And you know I like a good doodle :-) I found these 2 stamps - the background is called Pen Pattern Light and the cat stamp is aptly named Pen Pattern cat :-). I thought that cat looked so sweet and cozy - like my Westley (or my girl cat Willlie for that matter) - all snuggled up on a rug. So the colors are inspired by the rug we have in our family room. It's all grey, cream and red. I colored the cat, fussy cut him out and mounted it with some foam tape onto the colored background. I'm not going to lie - the background took a while to color - more of the decisions of what color where kind of thing. But I love the coloring - it really was so relaxing and enjoyable. And for this Aunt - I'd color all day long the most intricate pattern there ever was -she's just so dear to me. 
That's it for today kids. I am working on a few cards with an interesting twist I think. I'm just playing around with them a bit before posting and hoping for tomorrow. It's all about getting more from the stamps I already have - and can't we all use that? Yeah I think so. Have a good day!


Tuesday, July 07, 2015

Challenge Get Well card

Hi friends... yes... another post this week! Crazy I know... but lets go with it!
I was watching a Sandy Allnock video and her accompanying post linked to another blog called Understand Blue. On that blog there was a giveaway for some Inktense Pencils. Well I don't always jump on these giveaways (I'm like... I'll never win) but this one had an interesting requirement for the giveaway - to send a get well card to the Costco greeter at the blog writers (Lydia) local store. I thought I love that idea! I may not win any pencils (probably not) but I can do my good deed for the day. (I like to score some points with the big Guy each day. It can't hurt.)
I am in a bit of time crunch - just tons of things to do today - so I kept it simple. I found this bandaid stamp (i think its Stampendous or Judikins but don't hold me to it) in my stash and added some Purple Onion Designs alphabet stamps; colored with Copics. And if you're a long time follower you may recognize this card is a lot like a card I did waaaaaay back in 2008. Heck it was so long ago it took me a while to find it - I'd posted it on Splitcoaststampers. I must say I don't know what I was thinking when I made that one - I like this one better. I hope it makes Alex smile.
You should join in too -  you might win some pencils and make a guy happy all at the same time!
Okay that's all for me today. Gotta go mail that card and run a few errands. Thanks for stopping by!

Sunday, July 05, 2015

Well hello friends. Yes I've been a bad blogger. And I do apologize. We've been busy around here and blogging was the thing that got left by the wayside. I took a few trips and now I'm back home. At the moment wading through a pile of laundry and trying to get some things back to normal. It's going to take a few days.
We went to the beach house twice. During our first visit there I had the time to do a bunch of coloring. Before I left home I stamped a lot of images - one of them being this lovely one from Purple Onion Designs. I stamped this one with some Tim Holtz distress inks and tried my hand at no-line coloring (using some some distress ink pens - watercoloring). Since watercoloring is my nemesis I wanted to try and give it a go one more time and I really was happy with how this came out. (at first you don't succeed and all that!) Hopefully I'll post some more things I colored, while I was away, in the coming days. Thanks for hanging in there with me!