Showing posts with label Papertrey Ink. Show all posts

Tuesday, March 19, 2024

Jingle Belles Bling on the Holidays #JB2406

 While I may enjoy it, I don't have a ton of "bling" in my stash. I'm not a blingy card maker. I do like some sparkle and glitter on occasion,  so that's blingy in my book. And I'm a big embossing powder fan. With that said, I give you my entry into this weeks challenge featuring bling. I used old stamp sets from Papertrey Ink and the now defunct Feed Your Craft for the snowflakes, Mama Elephant for the sentiment, and snowflake dies from Papertrey Ink, and my new die (Thanks again Jingle Belle Queens Lauren and Stephanie) from Memory Box. The top layer of silver snowflakes were diecut from a silver metallic cardstock. The embossing powders are in silver as well as that Wow White Twinkle embossing glitter. And I drew the box around the sentiment with a Uniball Signo silver pen. With all that sparkle going on it was difficult to photograph so hopefully all the photos below will convey that bling.


Thanks for stopping by and taking a look.

Friday, March 08, 2024

Jingle Belles Holiday Cards to Die (Cut) for # JB2405 Take 2

 I'm sure in the future there will be times I don't make a second card - making one card for that particular weeks challenge will be more than sufficient. But not THIS week LOL. I'd be making more if lif e didn't get in the way! But - as you all know - I digress.

I perused my collection of dies that fall into the Christmas category and there are a bunch. I decided upon an old Papertrey Ink Snow Globe die with accompanying stamps. I created a shaker card using clear sequins but I wished I'd added more before sealing it closed. A number of the sequins seem to have gotten stuck in the layers that create the scene inside the snow globe. Not much to be done now, but I did decide it could use a bit more sparkle. I sifted through my supplies and got a bit of a crazy notion. I took a clear white sparkly pipe cleaner and glued it around the opening creating something of a sparkly frame. It looks every so slightly wonky in the photos but it's pretty darned cute in real life so I'm good with it. Thanks for stopping by and taking a look!


Monday, March 04, 2024

Jingle Belles Holiday Cards to Die (Cut) for # JB2405

 Dies and die cuts - I got 'em. It was more which one to choose. I imagine I may make a few cards for this challenge but I started with an old die and stamp set from Papertrey Ink.  Phrase Play #9. I wanted to try some metallic watercolors I have - I was thinking of sparkling shimmery  snowflakes. I also used an embossing folder that hadn't seen much love in a long time. 


The first photo hopefully gives you an idea of the shimmer of that metallic blue. It's prettier in real life. Anyway that's all for now. Thanks for stopping by and looking. 

Sunday, January 28, 2024

Jingle Belles #2402 Something Old/New Take 2!

 As I mentioned in my previous post, I don't have a lot of new stuff. I did buy some stamps and dies a few months ago but no time to use them. I imagine I'm not alone in having lofty goals of making some things and then all the plans go out the window due to whatever is going on. So with that in mind - I'm using something old and something older still. I don't think anyone is gonna call the Jingle Belles Police on me - whaddya say Lauren and Stef? ha!  

So last year I picked up some Heidi Swapp patterned paper called Hometown Holiday.  In this card I used some of that paper: I cut the word JOLLY out of one piece and used yet another piece for the background. For my something older things - the Sizzix die for the Christmas tree (which I cut up and put back together - cos ya know why leave it be when you can redo it?) The shimmery cardstock is also from the ancient section of my stash along with that star brad. The little Christmas mice? They're an older set from Papertrey Ink - and the stamped words are from a coordinating stamp set. And of course, stitching. 


I am pleased with this one - the little mice are so stinkin cute I'm glad I got a chance to use them. I suspect they may turn up in another card someday soon.

Monday, August 31, 2015

Drawing with color

Hello friends! Hope your summer has been wonderful. It's almost September! How did that happen?
I'm here today to share some cards made for a challenge. My favorite artist is Henri Matisse. I have had the good fortune to see two exhibitions of his work in my lifetime. Once at the Museum of Modern Art in NYC and more recently at the Tate Gallery in London. The show in NYC was a retrospective of his entire body of work and in London the show was just focusing on his famous cutouts. And that is what led me to creating this challenge.
Matisse said

“The paper cutouts allow me to draw with color. For me, it is a simplification. Instead of drawing an outline and then filling in with color-with one modifying the other-I draw directly in color...It is not a starting point, it is a completion.”

I asked some crafty friends to join me - in drawing with color - using shapes and color. 

Being cardmakers we use a lot of punches 

and dies to make shapes all the time, right?

I decided to use some dies and a punch to create the cards you see here.

The first card - I took some watercolor paper and a reinker and smooshed the color all over. I used my punch as I like to think Matisse used his scissors to cut out the colors and shapes I wanted. I arranged them in a square and used a starfish die and sentiment to complete my card. In this closeup you can see the colors and shapes in each shape that I punched out


 In this card I used a leaf die from PTI- very Matisse like shape don't you agree? I like to think this card has some of the movement of the shapes I see in many of Matisse' cutout pieces.


In this last card again I used a leaf die (as well as an impression plate for the background). I used more of that inked watercolor paper but also foiled one of the leaves with my Minc.


Okay that's all for today. I hope, if nothing else, you'll go online and look at Matisse's cutouts. Google it - you'll see so many beautiful pieces of his. The shapes are beautiful.
I hope to be back to blogging on a more regular basis. In the meantime however you can find me daily on Instagram

Thursday, July 16, 2015

Let's Play: Turning solid stamps into one you can color

Hello friends! Yes I'm back today with something I've been playing with over the past few days but I've been thinking about for a while. Get your favorite beverage and set a spell.....
I love to draw and color. And I've been doing that a lot lately - especially with Kathy Racoosin's 30 Day Coloring Challenges (if you don't know about these - please get yourself on over to Kathy's blog and do a search pronto!). And it's been so much fun. While the challenge was going on - and I wasn't drawing something to color or using some stamps to color - I discovered something. I have a LOT of stamps I cannot color. The horror! I have a lot of stamps and the vast majority are solid image stamps. Meaning there are no lines - you stamp a solid color. Now of course some of them are 2 step stamping sets that add wonderful dimension but, in short, there are no lines. I thought I wish I could use some of these stamps in the challenge.... but how? They aren't the kind of stamps you can color in with markers, pencils, or watercolors. Then I had an idea. I'm sure someone else has had this idea but I haven't seen it anywhere. It's actually kind of the opposite of the "no-line coloring" that's so popular now - except you're putting in lines. Follow me....
So here's an image from Avery Elle's Petals & Stems on the left. On the right - same stamp!
The flower on the left is stamped as is with a dye ink. The flower on the right - stamped as is with Tim Holtz Distress Ink, inked (basically tracing the image) with a Copic friendly pen then colored with Copic Markers.
Crazy right? Completely different look and all from the same stamp!
Okay you want to see another???
This time it's one of my favorite stamp sets - Papertrey Ink's Cutting Garden It's just got the prettiest flowers and leaves! It's a bit more elaborate than the stamp above so let's see what happens with that shall we?
Here I stamped using the set as is - a couple of different inks and a little masking to put the small flowers and leaves behind the larger image but pretty straightforward stamping. (The sentiment is also PTI - Graceful Greetings for the record). You'll note there are white lines indicating the petals - but that's where the stamp didn't stamp if you follow me - the negative. No lines.....
Okay now let's see what it looks like when I want to make it a stamp I can color in with Copics!


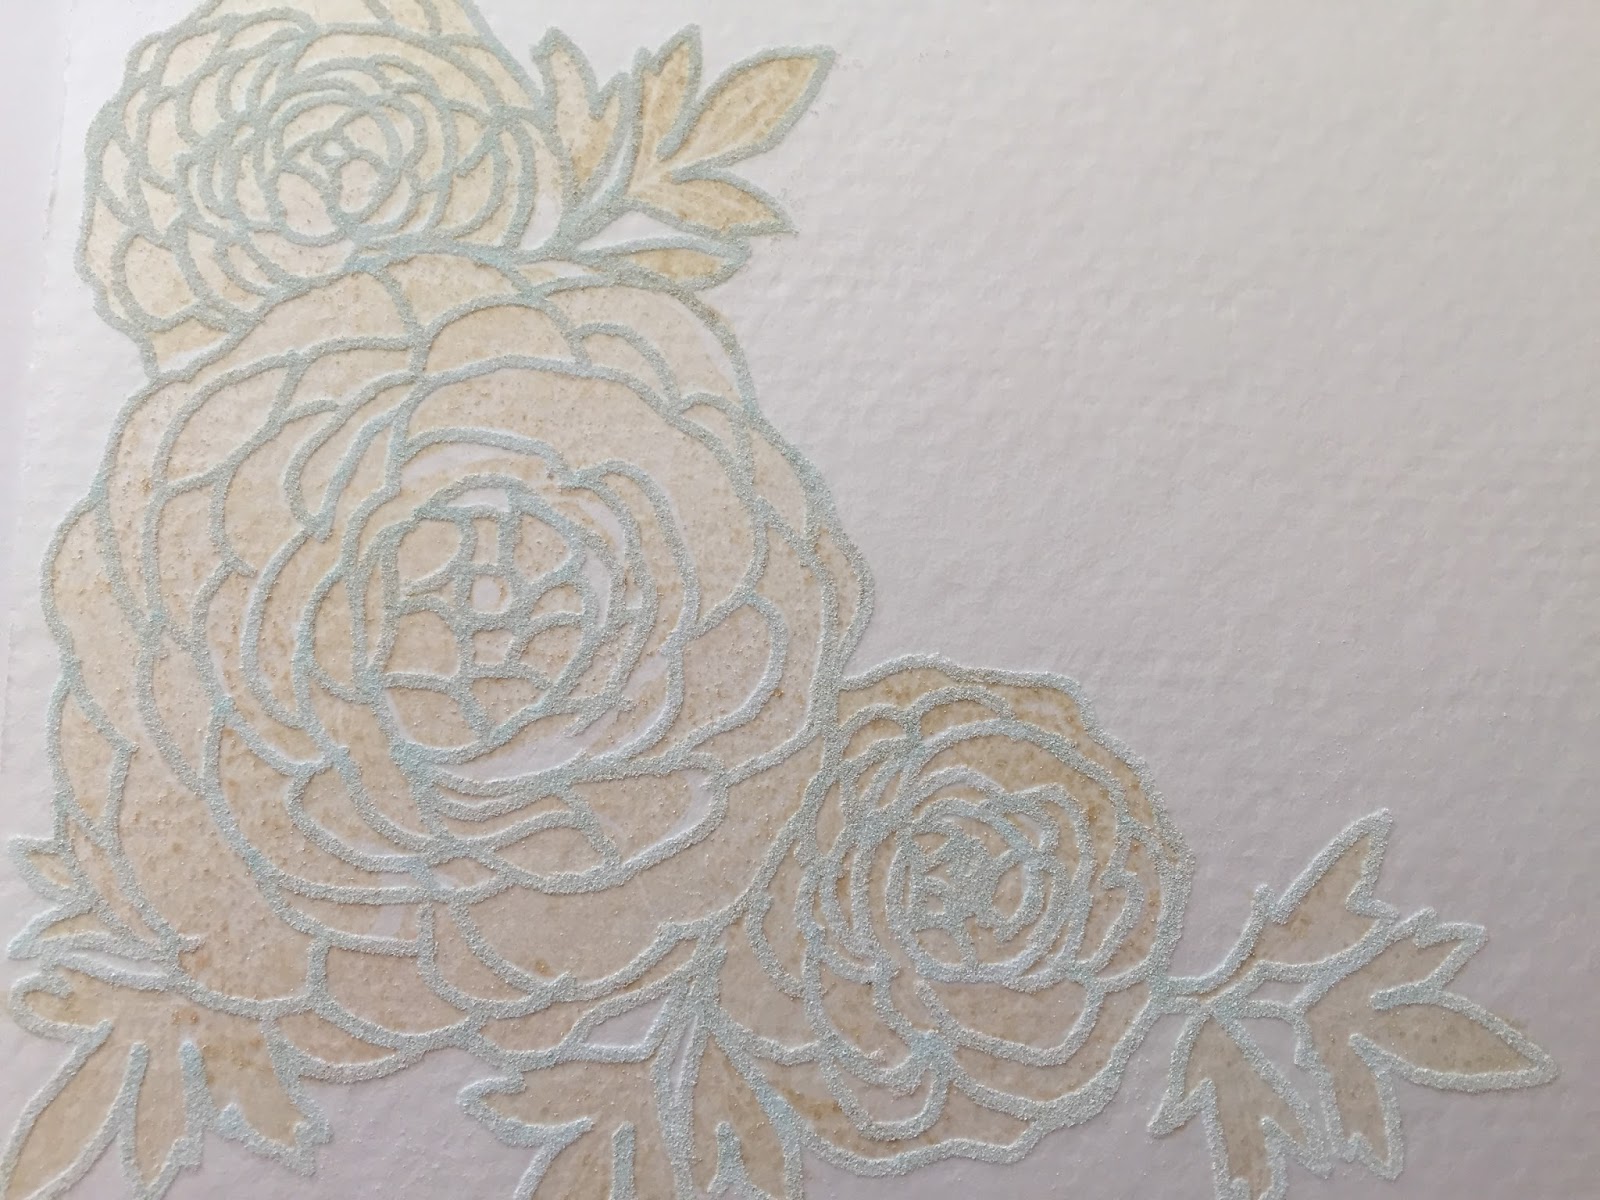
Pretty cool huh? It looks completely different doesn't it? Again, I stamped with a Distress Ink (Fine Linen), then used a Copic Friendly pen to trace the petals and colored it with Copic markers.  Just for the record my Copic friendly pen for this isn't a Copic - it's a pen I draw with - it's a Pilot G-Tec-C4. Love that pen. But I've used it a ton and it works perfectly well with Copics.
Okay - are you curious about what would happen if you wanted to watercolor using this technique? I'm so glad - I tried that too!


And here's what it looks like colored in Zig Clean Color Markers and embossed with white embossing powder. Kinda pretty. I had to do this a little differently - using a Zig Embossing Pen - which I don't think are available anymore. It's basically the same as a Versamark pen (I couldn't find mine). You draw with the embossing pen over those lines in the stamp then add embossing powder, heat with your heat gun and go ahead and color. I did try with clear embossing powder - it works nicely. I'm not showing a sample here because again I had to use the Embossing pen - and that ink has a blue tint to it - and that blue tint stays trapped under the clear and you get pale blue lines - here with the white embossing powder you see none of that.

Just so you can see what it all looks like before I added color to the images here's a few pics I took while I was trying all of this out.

When I started with this I pulled out a few stamp sets. This rose is from Papertrey Ink's Rosie Posey. I stamped the rose in Fine Linen Distress Ink and then added the pen. I'll don't have a pic of the colored rose. I was going to watercolor this rose - stamped it - then inked with my Pilot pen - should've used my Pitt Pen which is waterproof - so you know how that went. I had the black ink running - ugh. I shall have to go back and try the rose with the Pitt Pen in watercolor because I think it would be pretty beautiful.


 I hope you can see this. This is before I heat embossed the image and added color. You're seeing the distress ink and the embossing powder there. When you color it in the Distress ink really isn't an issue


And here's the image stamped in Fine Linen Distress Ink, then inked in pen before I colored with Copics. I think besides coloring with Copics I loved this part the best. You really don't have to be someone who draws on a regular basis. You are just pretty much tracing what's there. And you can edit if you like. Say you want fewer petals ... you just draw in the ones you want! I was a little concerned having that much Distress ink in contact with my Copics. I happen to have a duplicate of one Ciao marker - so I tried with that first - thinking if it got ruined I always had the other pen. I swear it did not damage my pen.
So what do you think? I think I can now get a lot more life out of the stamps sets I own - and that's an amazing thing! And when I purchase solid stamp sets in the future I've got another technique in my arsenal to color them any way I'd like. Yay!
Okay that's quite enough for today right? I'll close saying that Kathy Racoosin is hosting another Coloring Challenge in either September or October - and if you love to color - you need to join in the fun! And please come over to Instagram, if you haven't already, follow me there - say hi okay? I really would love to know what you thought about today's post - can you comment below please? Thanks so much for stopping by!


Wednesday, May 27, 2015

Hello Sunshine

Hello Friends! Hope you all enjoyed the holiday weekend. It was quiet around here - good for getting some things accomplished. I told you I've been purging and reorganizing The never ending project it seems. I'm trying to think of it more as steady progress toward a final solution to this room! Anyhow my husband and I took a little drive to Ikea and purchased a shelving unit. He put it together and my daughter helped me move it into my room yesterday. I'm kind of thrilled with it. It's close to waist-high and perfectly fits my printer and big shot  (and some baskets of dies) on top and can house my Silhouette portrait, more dies, Xyron, AG Minc,  label maker, embossing folders, Project Life stuff and a little bit more. I'm still rearranging things or I'd throw in a picture. Maybe soon.
Where's the card Tracy? You knew there was one right? I had started making some cards using Papertrey Ink's Bowl of Sunshine last week when I got together with my friends June and Amy (hi girls!). I'd intended to make these my "June Dear Ones" cards - and I may still. But I wanted  to send a card to an old friend  (we'd met last week for lunch when she was passing through the 'burg.) So I decided to use one of the cards in progress. I'd already embossed the front of the card with a StampinUp! embossing folder (using a Tim HOltz diffuser plate to create that main section that's plain). I just needed to add the image that I already die cut and stamped as well as stamp the sentiment. The sentiment is from the Hello Sunshine set - also PTI). Pretty quick and easy and I like the color combo a lot. 
Okay that's all from me today - thanks so much for stopping by!

Wednesday, May 20, 2015

Happy Birthday Little G

Today is my little niece's birthday. She is far away from me - on the other side of the country - but I sent along some presents and a bunch of handmade things that I hope she enjoys.

Back last year before Christmas I'd made my niece an apron to wear when she baked Christmas cookies with her mom (my sister). I think I posted a photo. Regardless, at the time I'd also purchased this cupcake fabric to make her an apron for her birthday. I thought she'd love the cupcakes and it would be fun for her to have another apron made just for her. This time I created one large pocket on the front (the Christmas apron had two pockets.) I used pink ricrac to trim everything and some wide grosgrain ribbon to tie at the neck and around the waist.

And doesn't a girl need matching potholders? Of course she does. (sometimes i get started on these little brainstorms and think midway - "what was I thinking?") And since I can't do anything really simply I decided I'd need to sorta quilt these little numbers and add more ricrac. They came out pretty cute but lets just say they were more involved than the apron. (between the batting, the ricrac and some stuff that i forget what you call it but its got some properties that help keep hands from feeling the heat - made for things like potholders - you sew in a layer of that inside....). They are pretty darned cute though so in my mind - time well spent!


Now I needed a card - i chose that Penny Black set again - so appropos for my niece.
 and some tags for all the different presents - i used the Enclosed flower die from PTI to cut them out and added some die cut leaves also from PTI. I stamped them all with lots of polka dots (to coordinate with this most cute wrapping paper i had)
Oh there was a lot of curling ribbon too. All so it would be nice and pretty for this little girly girl. While I'm typing this i realized I might have a little bit of fabric leftover to make her doll an apron too... hmmmmm.....
Okay - that's all for today!

Monday, May 18, 2015

Dear Ones cards for May

Hi there friends! It's time for more "Dear Ones" cards. This month I was determined to use a set from Papertrey Ink called Topiary Trio. I had to have it months ago and yet I still hadn't used it! This is a rarity for me - when I buy - I use LOL. But for some reason this set, which I adore, kept getting pushed to the back of my stamp bin. Anyhow, I played around with the stamps and finally decided to use just one of the little topiaries (and one pretty sentiment). I used the dies to cut out the image on white cardstock as I'd decided to stamp the stem/trunk and the container and use colored cardstock for the round leafy ball (what do you call that anyway?? - i think you know what I'm talkin about!) I used my Misti to do all the stamping - and I gotta say again here that Misti was one of the best tool purchases I've ever made. Not only did I crank out the stamping parts of these cards in no time flat - i was actually talking to my friend June (HI JUNE!) while I was stamping - something I normally cannot do. I gotta be concentrating ya know what i mean? But that Misti took all of the work (and concentrating) out of the mix and I could just chat, drink coffee, and stamp. I used the Lil Inker stitched rectangles again and the patterned paper is all from the Fine Linen Pattern Pack from Papertrey Ink. Pretty simple cards but I think they look rather elegant! And perfect for the recipients. That's all for today kids! Thanks so much for stopping by.

Saturday, April 25, 2015

Papertrey Ink April Blog Hop

Hello Friends! It's Papertrey Ink's Blog Hop day. The challenge was to create something using Navy and Pink. When I saw that I knew I'd have to play along. I love this color combo. It's just so classic. The other day I started playing around with some ideas but I knew I'd be doing something with either polka dots or stripes. And that I'd be making something that was kinda go-big-or-go-home. I made three cards. The first one here using Polka Dot Basics stamped with Fresh Snow Ink then embossed with white embossing powder (just to get those polka really white!) I used the Enclosed: Flower die and Berry Sorbet Cardstock. Then I backed it with white cardstock run through my Big Shot with a Cuttlebug Swiss Dot embossing folder. I also made a butterfly using Beautiful Butterflies and the Beautiful Butterflies Layers set, positioning the die cut so that curly part of the wing took the spot right over the dot
for the "i".


My second card: I used my Misti with the Background Basics: Super Stripes to create that striped background. (Creating backgrounds with the Misti was a big selling point for that tool for me - it made creating this background so easy!) I used the Graceful Greetings set (stamped twice, again using the Misti, to get a really solidly stamped sentiment in Enchanted Evening ink.) as well as the Ruby Rose set to create that embellished flower. I added a PTI button and some embroidery floss to finish it off. Oh yes... and a little machine sewing around the striped panel.


My third card is pretty much like the first one I just reversed the color scheme of Berry Sorbet and Enchanated Evening and using the same stamp sets and dies and embossing folder.

That's all for me for today - I'm off to do some errands then come back and check out everyone's cards on the hop! Have a wonderful day and thanks for stopping by!

Friday, April 24, 2015

Making a card out of random stamping

Hi there friends!
I know... another post from me this week - is it some kind of holiday?
Nope, I'm just catching up around here. I was cleaning up around my drawing table yesterday afternoon and I came across this stamped piece of cardstock. I'd been having a little stamping morning (a few weeks back) with my friend June (Hi June!) and was fooling around with the Misti and this Papertrey stamp set called Brushed Blooms. I told you that I have to play with these tools, like the Misti, a while before I get a feel for them. At that point I was trying out how to stamp the layers involved with that stamp set. I kept moving and turning the cardstock as I tried out the blooms in different colors. When I was done June (clever one that she is) said you just need a sentiment for that and you have a card. And she was right. I recently got this other lovely Papertrey set called Graceful Greetings. So yesterday when I came upon that stamped cardstock I decided to take June's advice and stamp on one of those lovely Graceful Greetings sentiments. I added a little bit of colored cardstock as the base layer and I had my card. I'm thinking this would make a great "Dear Ones" card for May. It's just a cheerful mix of colors and that sentiment (actually all of them in that set!) are going to get a workout from yours truly.
Thanks for stopping by. Hope you're having a great day!

Wednesday, April 22, 2015

PTI Make it Monday Challenge #209

Hi there friends. Yes, a second post this week - wow! Right?
More on what I'm up to later in this post but you're here for the challenge card, right?
Okay so this week's Make it Monday challenge on the Papertrey Ink blog was to use white on white die cuts with a pop of color. I haven't been participating of late and this looked like a fun one to jump back in so here's what I came up with.
I loved all the beautiful samples that were in the video. I gave it a little thought a rifled through my Papertrey stamps and dies and decided on using the Button Stacks and Wet Paint dies. I tried out the Bitty Button Stacks too but finally opted to leave those out. I had all my diecuts and decided my splash of color would be in the sentiment and then realized I wanted to use a little embroidery thread to tie up those buttons. I did try white but it wasn't workin for me so I went with a blushy pink thread. I spent a lot of time trying various ways of lining up those buttons. I liked this version the best - it reminds me of a quilt or maybe lace?  I should confess I really wanted something that said Baby for the sentiment - doesn't it kinda look like a baby blanket? :-) I might make it again if I can come up with a good alternative to make a baby card.
I don't know about you - if you participated - but this was a tough card to photograph!
So now onto the why I'm not blogging so much of late.
I'm a purging stuff. Great amounts of stuff. And while it's taking me away from things like blogging, it sure feels good. I'm making great progress so I don't wanna stop. Well I do have to stop occasionally. The house needs tending and the family needs feeding and we need clean laundry blah blah blah.  I even got together with some dear friends and we had a little sale of our stuff a couple of weekends ago. While I didn't sell a ton, I did sell some and then the rest I donated to a local shop and that was really great. (It didn't come back in my house and went to a most worthy cause - win/win).

All this purging - and I should be specific - it's craft room purging I'm talking about - is very freeing. I have been bogged down way too long with a lot of stuff I'm never going to use. Lots of guilt there. Guilt that I shouldn't get rid of stuff I spent good money on, guilt that I am getting rid of something someone gave me. Oh the guilt. I could write a book. And I finally said to myself - it's wearing you down. The room is a mess. I spend too much time organizing it and reorganizing it - time I could better spend drawing and making cards and scrapbooking. And I am almost done. And it feels wonderful. And it's clean... well almost. But heck the floor is clear! And that my friends is kinda amazing. So thanks for stopping by. I appreciate your visits and your comments. And if you're not commenting - please do - I love hearing what you have to say - what you're making etc. Okay?

Monday, April 20, 2015

Dear Ones - April


Good morning friends! Finally getting back here to post my "Dear Ones" cards for April. 


I'd started making them last Wednesday when I got together with some crafty friends (Hi June and Amy!). 
I'd recently gotten the Misti and wanted to give it a little work out. (I don't know about you, but when I get a new tool I really have to spend some time with it. Learn the in's and out's and so forth. The Misti, for me at least, was no exception. It took some time to get acclimated. Beforehand I watched a number of videos and then I really just played with it for an afternoon, not making anything but trying out the possibilities. It's not that its hard LOL it's more there are lots of ways to use it and I want to take full advantage of my purchase :-))
Anyway I knew I'd be seeing my friends on  Wednesday so I played all Tuesday afternoon with the Misti. I decided that at the playdate I'd make 12 cards so I'd have my Dear Ones:April edition done plus some extras to have on hand. 

I set up my Misti so that I was all set to stamp each layer/color when I saw my friends on Wednesday. I should say here that when we do these get togethers, I do more talking than stamping normally. I am more of a solitary stamper/artist (read: I work better alone LOL). But with my Misti set up, ready to go I was feeling confident I'd get some cards made. 

And I actually did get my cards created. There was one stamp that I had to use repeatedly (that tiny 3 flower stamp that appears 2 times on each card. That one I did by hand later when I got home). Of course there was still the assembling to do but that went quickly - and yes I did that at home as well. 

I have to say that Misti really made the whole job much quicker and not like a job at all. And really - the stamping is supposed to be fun isn't it? Okay kids - that's all from me today. I have fooled around enough with blogger for one morning! Thanks for stopping by!

Monday, March 30, 2015

Thank you Bouquets

Hello Friends!

Today's cards are a whole slew of thank you cards.


I needed to make one for use right away but figured while I was at it I might as well make a few more for my stash.


I'd been wanting to play with a stamp set I hadn't gotten to use yet - Bitty Bouquets from Papertrey Ink. It's got the cutest little bouquets you can stamp up in various colors with very little effort.


I had also recently purchased a paper pack from Papertrey Ink called Chicken Scratch Gingham. I thought it was a great choice when you need a fast card. The paper pack has 6 colors and a lovely linen finish. And of course it coordinates perfectly with PTI cardstock - so your chances for a really pretty outcome on your card are immediately upped!


I stamped up all my images and sentiments on white cardstock that I cut from the Lil Inker Designs Stitched Mats: Rectangles.


Then mounted them on a coordinating cardstock and patterned paper.

It's pretty wild that the cardstock I mounted the image on just fits perfectly inside that rectangle on the patterned paper - and I hadn't even measured it to do that!


Probably the fastest bunch of thank you's I've ever made!

That's all for today friends. Thanks for stopping by.


Saturday, March 28, 2015

Hugs are the best medicine

Hello Friends. Sorry I've not been posting here in the last week. I have been posting a good bit over on Instagram playing along with the 30 Day Color Challenge. It's a lot of fun and great way to get in some coloring (read: therapy) every day. I've been managing to sneak in some coloring everyday and it feels good. I'm also in my sketchbook everyday which is very good for me.  But have I been making cards? Well of course.
I made this one for my Aunt this week. I wanted to try out that technique you see here - where you cut into your card with a word die then raise that word up (stacking the diecuts). I'm sure someone has given this clever technique a name - regardless it makes a pretty nifty card. I fashioned my card after one I saw Laura Bassen make. I used a Heidi Swapp stencil and a bunch of different inks to create the background. The die and sentiment are from a Papertrey Ink stamp set called Big Hugs.
Okay that's all from me today. Thanks for stopping by!

Thursday, March 19, 2015

Doodlie-do Thinking of You


Good Morning Friends!

Since I've been participating in the 30 Day Coloring Challenge, I've been pulling out stamps that I haven't used in a while.

Doodlie-do is one of those stamp sets. I made two cards using the stamps. One card colored in browns and teals and the other card colored in pinkish tones - not unlike Papertrey Ink's color Berry Sorbet.

I used a die from the Keep it Simple Frames and added a sentiment from Keep it Simple: Thinking of you.

That's all for today.
Thanks for stopping by!


Tuesday, March 17, 2015

Dear Ones March Card - Happy St. Patrick's Day

Happy St. Patrick's Day Friends!
Not a huge holiday for everyone but in my house - it's a big deal. My mother was 100% Irish - first generation American. My grandparents came through Ellis Island. I could go on and on but suffice it to say we are proud of the Irish heritage. Every year I bake some Irish Soda bread - my grandmother's recipe (I skip the corned beef and cabbage however....). I wish I could share that with my "Dear Ones" but they are all so far away. So this month's addition of my Dear Ones is a St. Patrick's Day card. I know they'll be happy to see this shamrock and all the green! The shamrock itself is a PSX stamp, The tag die and paper are from Papertrey Ink. I colored the shamrock with Copics.
That's all from me for today. Thanks for stopping by!

Monday, March 16, 2015

It's Spring! (or at least it feels like it)

Hello Friends! Can you tell I'm loving the warmer temps? It definitely feels like Spring and, after a particularly cold winter, temps in the 50's are amazing! When it's warmer out I like to open the doors and windows and let the fresh air in. As some of you may know I have two crazy kitties. They are indoor cats. But when the weather is like this I open up the doors to our deck and our kitties can also enjoy the wonderful weather. (Part of the deck area is enclosed so no worries.) The other day I did exactly this and Willie (our girl cat) went zipping in and out of those doors - clearly she was happy about the warm weather too. I'm coloring away at the 30 day challenge by Kathy at the Daily Marker (which has been so wonderfully motivating!). I decided I'd use a stamp from Simon Says Stamp - Pawesome. Such an adorable kitty - totally reminded me of little Miss Willie zipping all over our house. I stamped the image three times across the top of the card. I also wanted to use some alphabet stamps from Papertrey Ink - Outlines. These alphas have been on my wishlist forever - and now that they're retiring at the end of this month - headed to Papertrey's Vault - I finally took the plunge. I stamped out the words and began coloring them and the cats in Copics. It was so much fun to settle in and color. Not only fun - it's thoroughly therapeutic. You get in that wonderful zone and completely forget about everything else.
Okay - that's all from me today - thank you so much for stopping by!

Saturday, March 14, 2015

Welcome Spring

Good morning friends. I am still coloring away on the 30 day challenge on Instagram. I decided to color this bunch of flowers - it's an older stamp from Hero Arts - one of my favorites. When I've colored it before I've colored the image as is - its an outline stamp and those flower centers end up being black. So this time I decided I wanted to color them in and make the flowers into daisies. Kinda springy - light and bright. I colored everything with Copics. Then I got to those black centers - I decided to use a white gelly roll pen to cover over the black. Then I went back in and colored them with a yellow Copic. It worked out pretty well. I finished it off with a little banner and sentiment (both from Papertrey Ink).
Thanks for stopping by!

Thursday, March 12, 2015

Year of Thinking of You - November

Well I think I'm done with the Year of Thinking of You cards. I decided to try coloring with one Prismacolor pencil (and odorless mineral spirits with a blending stump). I chose this image from Papertrey Ink's Year of Flowers: Mums. Such a pretty image don't you think? As this card is for the November card again I wanted to pick something seasonal and I think this flower fits the bill. I colored and blended and colored and blended (lather, rinse, repeat) and finally decided to stop here. I can obsess over this stuff and couldn't let it get too out of hand. In general I'm happy with my result. I added the sentiment (PTI Keeping it Simple: Thinking of You) and was done. It's definitely a departure from the other cards and I hope my sister-in-law likes it. It certainly won't take more than one stamp :-)
Hope you're having a great day - thanks for stopping by!