Monday, February 25, 2013

a couple of birthday cards

I forgot to post. Amidst the flurry of valentines, I realized I never got around to these two cards. I really wish I had taken better pics. I admire all the fine photography on others blogs. Improvement on my picture taking was at the top of the list for this year - that and learning Photoshop. But I still struggle with sneaking in time for card making. Well - it's early - we're only at the end of February right? Okay I've got two cards.
First one I used Papertrey Ink's 2012 Birthday Tags and Giga Guidelines stamp sets. I also used PTI's Limitless Layers Ovals and Tag Sale #3 dies and an embossing folder from StampinUp!.
The next card I used a Papertrey Ink stamp set called Cupcake Collection for the cupcake and sentiment as well as the background candles. (I lined up the little candles on my acrylic block and just kept on stamping to create the background.) The polka dot background was stamped with PTI's Polka Dot Basics stamp set. The cupcake was cut with the coordinating dies. And the frame as well as the little banner are dies from PTI's Fabulous Frames die set. I finished it off with some ultrafine glitter.
Okay that's all from me right now. Gotta run! Thanks for stopping by.


Wednesday, February 20, 2013

Make It Monday #104 : Handmade Pinwheels

On Sunday I was playing around with some Papertrey Ink stamps - stamping on a sheet of Guidelines I Grid cardstock with my Giga Guidelines Stamp set. It's been a while since I played with this set and I wanted to make a birthday card. I stamped the entire sheet with one of the stamps from the set using Melon Berry ink. I played a bit with another color and tried adding in another stamp to the mix - then I had to call it a night.
On Monday I got home from work and viewed the Make It Monday this week and I thought - this sheet of stamped images is the perfect starting off point for making a pinwheel (and my birthday card). Here's the card I came up with - I added a square of Aqua Mist Gingham patterned paper behind my pinwheel and an aqua button with some floss. The sentiment is from Think Big Favorites #7.  I did make another pinwheel using some more images from the sheet and I'm hoping to make another card using it.
Oh I forgot to say I clipped my card to a cute little stand my sister made me for Christmas - so that's what you're seeing in the photo of my card. I've been using this little stand since Christmas to clip recipes up while I'm cooking and cards I want to look at after I've made them. Okay... thanks for coming by!

Saturday, February 16, 2013

9th Annual Valentine Rakarama!

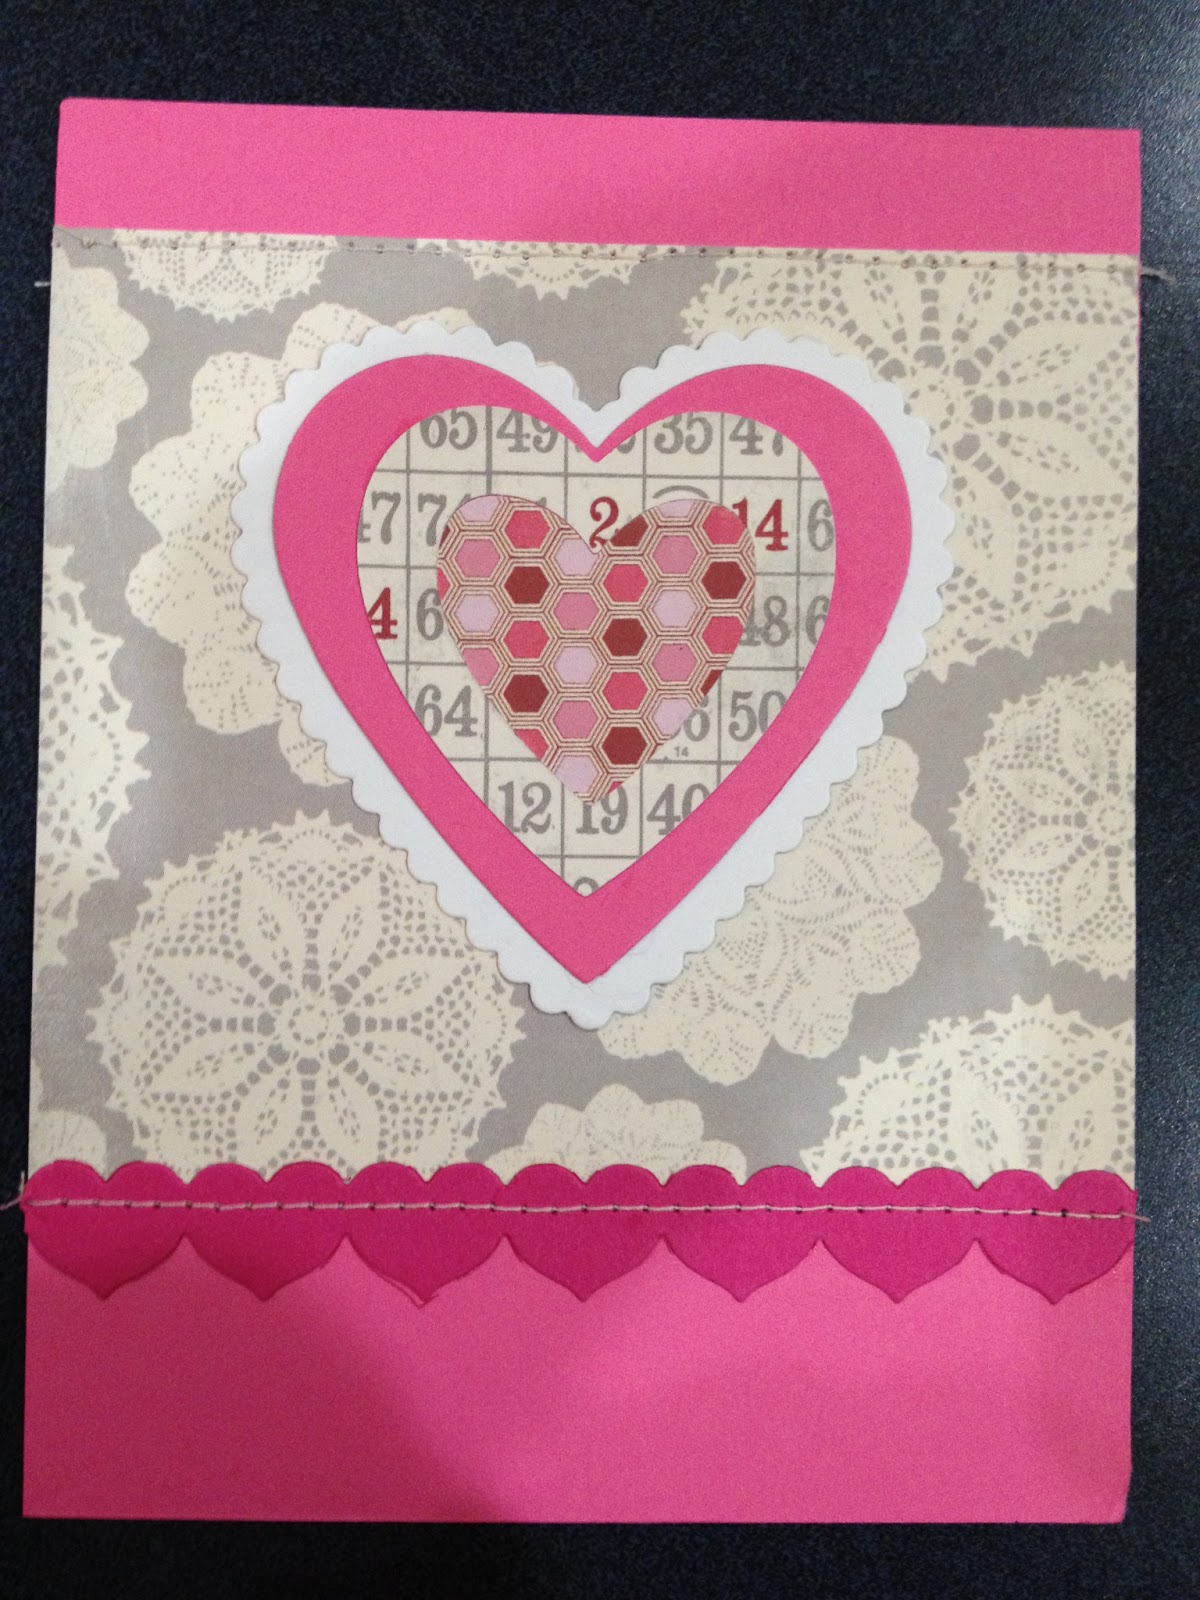
 So it took me a little longer to get back here to post these but I wanted to wait until the recipients had their Valentines.  Every Valentine's Day, I like to make valentines for my crafty girlfriends. For the past few years I've challenged myself to make every one different. Well - the basic layout is the same but I think you'll see they're kinda like snowflakes - not one is the same ;-) So on with the show...


Supply wise I used the My Minds Eye Love Me 6x6 paper pad, Papertrey Ink Framed Out #11 Die, as well as PTI's Limitless Layers 2-1/4 Heart dies and Heart and XOXO Border dies and my sewing machine. Alrighty that's it for today. I still have some family/friend valentines to show and a few other cards I haven't posted yet. Have a good one!

Thursday, February 14, 2013

Happy Valentine's Day


Here's the card I made for my husband. I did a little masking of the sentiment - it's from the Papertrey Ink set Sending My Love. I also used the Limitless Layers 2-1/4 Heart Dies. The little strip of text patterned paper is from Martha Stewart.
I hope to be back a little later with a whole bunch of other Valentines I made for family. And then of course there is the 9th Annual Valentine Rakarama (I think that will need to be tomorrow... it's a bunch of Valentines ;-))

Tuesday, February 12, 2013

Papertrey Anniversary Challenge - Watercolors

I saw the challenge this afternoon - create a project with a watercolor technique or look and I thought I'd really like to give that a go. I've been working on a lot of Valentines and I wanted to do something a little less structured.I used a palette stamp from my stash and inked it with PTI Aqua Mist. I stamped it onto some watercolor paper to create a background. I took a paintbrush and blended the background a bit. Then I stamped some leaves (from PTI's Turning a New Leaf set) onto the background. I took a fine paintbrush and went over those leaves to soften them up. Then I took a little of the Aqua Mist reinker and some water on one my acrylic blocks and went back into the background to darken up some of the areas.  Finally I stamped my sentiment (from Fillable Frames Sentiments). I wish my photo did the finished piece justice because I really love the way it came out. Regardless, it was a fun little project and I thoroughly enjoyed doing something different! Loving these challenges!

Monday, February 11, 2013

sweet birthday wishes


I've been on a card making binge the last week and a half or so. With a need for some birthday cards and Valentine's Day coming up I've been a card makin fool.... and taking pictures was the last thing on my mind. But as I like to share what I've been doing and so I can remember what I did LOL... well I took pics but they're not exactly the best quality. With that said - I made a few birthday cards with Papertrey's The Sweet Life stamp set (and dies) as well as Think Big Favorites 16. I should note I did a little masking with the TBF#16 (stacking the words instead of the way the stamp is actually) - it was the sentiment I wanted to use but I needed to make it fit the space. I also used PTI's Half & Half dies and the Polka Dot Parade Patterned Paper Pack.
Okay that's all for now. I'm going to be back with a LOT of Valentines. Cos you KNOW I love to make Valentines! Have a good one!

Saturday, February 09, 2013

PTI Challenge

Papertrey Ink is celebrating its 6th Anniversary with lots of challenges and contests. I decided to join in today. The challenge was to create some kind of wrap, tag or packaging based upon inspiration found on Pinterest (or another source). Well I took a look around Pinterest (I gave myself a time limit or I never would have made a thing). I don't know about you but sometimes when I look around Pinterest I feel as if my head will explode - tooooo many ideas LOL! However, I came upon this tag - I loved the colors. Me and color have a love/hate relationship.  I love it but I'm not always successful using it. But I decided this was supposed to be a challenge so I'd give it a go. I knew already I wanted to make wrapping paper and thought I'd like to also create a coordinating tag. I had a roll of white kraft paper. I cut off a large piece and got to work after a number of rounds of stamping on scrap paper to get just the right mix of colors, flowers etc. I used a number of Papertrey Ink stamp sets: Tagged Sentimentss, Flower Fusion #2 & 7, and Heart-2-Heart #7 & 12. I also used the Tag Sale #6 die. It's been a long time since I've made wrapping paper but I really had a lot of fun and I do believe I'll be making a whole bunch more!

Saturday, February 02, 2013

Sending Birthday Wishes

Hey there - today I'm sharing a card I made for my brother-in-law who has a birthday today. Masculine cards can be hard - but I had a particular stamp in mind to use - which of course makes it a whole lot easier. The stamp in question - World Map from Papertrey Ink. As soon as I saw it I said to myself - that stamp is mine. (given that my husband loves a map - any map- I knew the stamp would see a lot of use.)  I also used some Fine Linen patterned paper  and the sentiment (Fillable Frames Sentiments) from Papertrey.  The black chevron pieces and the ticket were cut using my Silhouette Portrait. :-) I had used the Portrait once since receiving it for Christmas and I really wanted to try it again. I gotta say I'm a little in love with that Portrait and have all kinds of projects in mind for it in the coming months.  Anyway, I finished the card off with a star brad I had on hand - and while I was at it, I made two cards. That's all for today - have a good one!

Thursday, January 31, 2013

Moxie Fab Make an Itty Bitty Card Challenge


I saw a cute challenge over at that wonderful Moxie Fab blog :-) - Make an itty bitty card. How could one resist? Really - I had making some wee Valentines for my sister's kids (2 boys and a girl) on the brain. So here's what I came up with - sized at 3x3". I gotta say it's a wee little space but was quite fun. My little cards are quite simple to look at but in true tracyfp form - i made it a tad more complicated LOL
I used Papertrey Ink's Framed Out #11 die for the heart cut out in the center of the card. Also from PTI is the gingham patterned paper (Aqua Mist and Pure Poppy) and that XO border die is also from Papertrey. The little birdie is from a long retired set from StampinUp! called Cute Critters. I am sure I have another bird stamp but this one seemed perfect (and age appropriate)- as these cards will be making their way across the country (just like a bird would ;-)) to my sweet niece and nephews.
I did adhere some acetate in those little heart windows (primarily to hold in that inserted heart of a different color). I used some Copics to color in that cute little bird. And that is that.Totally cute and fun and I'm happy I played along with that challenge. Maybe you should too? Yes - you should!
Have a good one!

Friday, January 25, 2013

PTI January Blog Hop

So the challenge for the blog hop is Black Backgrounds.
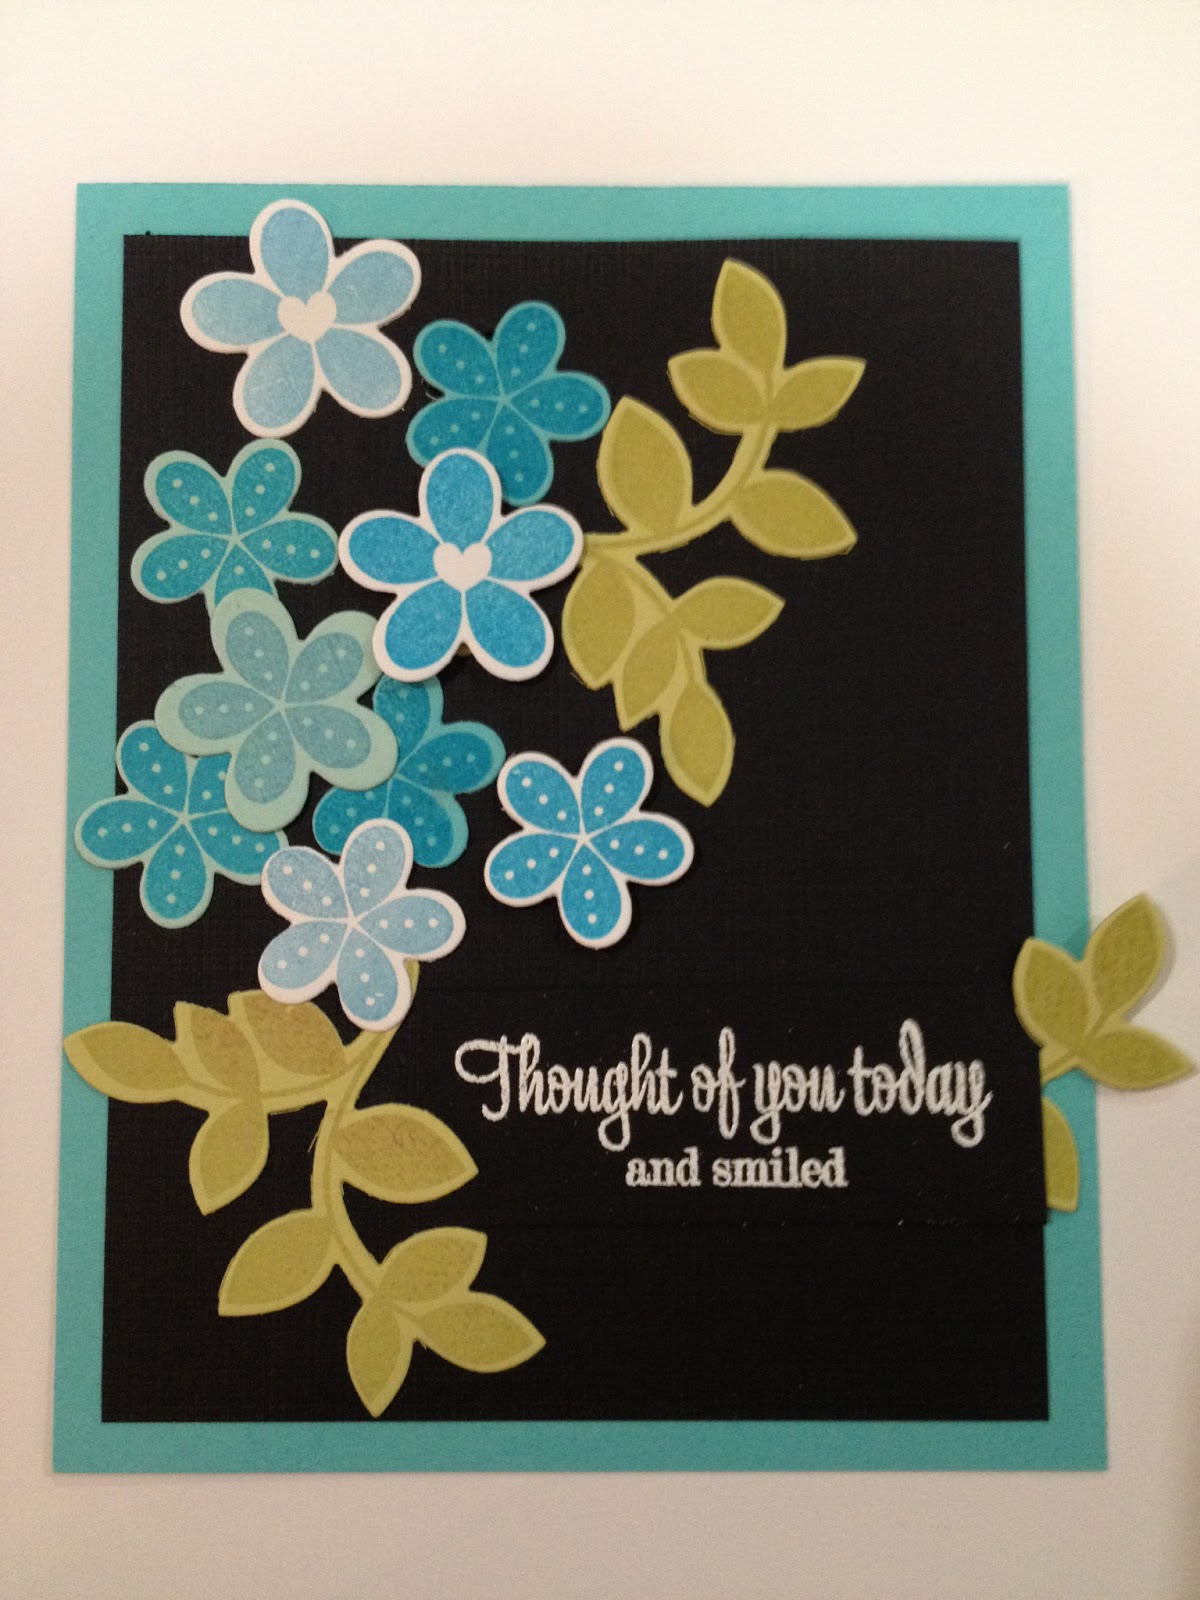
I had to do a little thinking on that one. So I looked around for a little inspiration and found some via the crack that is Pinterest. I like the color combo of blue (aqua), green and black with a little white thrown in - so here's what I came up with. I ended up backing the whole thing up in more aqua which seemed to make it pop a bit more. I used a PTI Impression Plate on the black background - its subtle but it's nice :-)
I'm kinda chuckling to myself here - I'm making flowery cards while the snow is coming down outside. Ah well... Have a good one!

Stamps: Papertrey Ink Heart-2-Heart #7, Turning a New Leaf, Happy for You,
Dies: Heart-2-Heart #7, Turning a New Leaf, Linen & Canvas Impression Plate
Cardstock: PTI Spring Moss, Aqua Mist, Hawaiian Shores, Stampers Select White
Ink: PTI Spring Moss; StampinUp Tempting Turquoise & Taken with Teal; Versamark
Other: White Embossing Powder

Wednesday, January 23, 2013

Thinking of You Today

I wanted to try out some stamps I got for Christmas - namely the sentiment stamp you see here. It's a simple little card using some patterned paper from my stash and couple of dies. I love Dawn McVey sentiment sets :-) They're just so happy and have such lovely typography.
That's all for today kids!

Stamps: PTI We Go Together
Dies: PTI Turning a New Leaf; PTI Limitless Layers 2-1/4" Ovals

Tuesday, January 22, 2013

Happy Birthday Michele

a birthday card for a dear friend ~
have a wonderful day!

Stamps: PTI Funky Florals; Button Up; Fillable Frames Sentiments
Dies: PTI Notched Flower, Fillable Frames #9, Buttoned Up 1
Other: White Embossing Powder; Versamark; Bella Corda Jewelry Cord

Sunday, January 20, 2013

Make It Monday #100: How to package oversized embellishments

So here's my card for the Make it Monday challenge. You notice that my embellishments (the leaves on the left and the banner at the bottom) are extending past the regular A2 size card boundaries. I have to say upfront I normally don't go out of the lines... even in my coloring books LOL. However I'm all over the place in my sketchbooks so I call it even ;-). Anyhow I thought this would be a good challenge for me to give it a whirl given my boundary issues (and there's a prize for this MIM - I am just getting in my entry under the wire here. It's been a wicked week. No time for cards - eek - til today after we got the daughter back to her last semester in college. And no I can't believe that either... but I digress....)
A note or two on the card: I used so patterned paper from my stash and the rest is all from Papertrey Ink. I love the Notched flowers dies and one of my Christmas presents was the Turning a New Leaf stamp set along with the dies. I am in a little bit of love with that set of dies. I also used the Double ended banner die. Because the sentiment I'd chosen will not fit on a single banner (I am secretly wishing for a double ended banner die that will accommodate those Think Big Favorites sentiments) I decided to get a little creative. I stamped the "hello" portion of the sentiment on the green banner. Then I masked off the "hello" and stamped the "just a note" on the white banner - and put them both together - staggering them just a bit to add a little interest.
So now on to the packaging. I have quite a stash of clear envelopes. All sizes. As this card is going in the mail to my mom I wanted to use one of those - knowing they are secure and go through the mail very nicely. But what I like to do (if given the time) is decorate an insert I used to address the card . So I took some cardstock and layered on a piece of the same patterned paper. Added a Mat Stack 1 die cut out of white to write her address. Then I cut out another leafy flourish and glued that down and I used it to write my return address. I decided it needed a few more leaves so I cut out another leaf flourish and trimmed it and glued that down. I know my mom will like it a lot.

Saturday, January 12, 2013

For a friend

Made this card recently for a very special friend. Sympathy cards are always hard.
I kept it kind of simple. I used PTI stamps and dies and some Chatterbox (yes I still have more - probably cos I've hoarded it all these years) paper I really loved. Then I finished it off with a bit of ribbon and stitching.
That's all for today - have a good one.

Tuesday, January 08, 2013

Happy Birthday to my 9 year old nephew


Quick post to show you a card I made for my sister's 9 year old - it's his birthday today! I had some scraps of some great birthday boy paper - I wish I could remember who made it (it's an oldie - but a goodie! I think it might have been American Crafts?) I die cut the 9 using PTI's By the Numbers dies. I also diecut a bunch of the Loop De Loop die using different cardstock colors to match the paper - don't those Loop De Loops look like streamers? Alrighty... that's all for today! Have a good one!

Monday, January 07, 2013

Just a note hello

I was doing a little cleaning up (well i still need to bring a wrecking ball for the rest of this room....) - I'd pulled out so many different papers from my stash to work on an album gift so I had to get that out of the way. I came upon this plaid paper, which I love - love all kinds of plaid and Chatterbox made so many nice ones. Any-how... I thought I'd make a quick-ish card for a family member to say hi. I used the PTI Mat Stack 5 die to cut some cardstock and vellum. Then I used PTI's Thing Big Favorites #22 to stamp the sentiment in Versamark on vellum then I heat embossed it with some white embossing powder. I decided to trim the top and bottom off the die cut shape to expose the cardstock. I added a strip of the same cardstock at the top and die cut PTI's heart border die for the bottom. I also die cut some buttons using the Buttoned Up #1 die. Finally I did a little stitching - yay - Santa brought me a new sewing machine for Christmas! I've missed stitching on my cards - so I'm a sewing fool again! Oh yeah - I tried some embroidery floss to tie up those buttons but it wasn't looking quite right. I just don't like when the holes are still exposed - the floss doesn't seem to fill the diecut holes well enough. So I tried some paper jewelry cord - kinda reminds me of twistel...remember that? Anyway I liked that much better. Okay - I'm off to see what I'm going to feed this crew. Hope to be back tomorrow with a card I made the other day.

Tuesday, January 01, 2013

Happy New Year!

I vowed to myself I'd get in a post the first of the year and here I am - 11:30pm on New Year's Day. Better late than never. It's been a crazy couple of weeks.... as witnessed by these pics of Christmas gift card holders I just finished today. Yes, Christmas continues. sigh. Long story short - weather and family who couldn't be at celebrations allowed me a little leeway which I desperately needed!
To be brief because I must go to bed ;-) I used Papertrey Ink patterned papers, stamps and dies (if you need to know just shout and I'll elaborate) but the most important feature is the Movers&Shakers Zipper Die - so cool and I cannot wait to hear how the recipients loved these (and the gift cards that are sealed inside).  I also used some of those Prima Holiday Poinsettias I bought after Christmas (maybe last year... could it be the year before.. perhaps... I can't recall but no matter - nothing more classic than poinsettia right?) I hope to get back to regular blogging soon. Thanks for staying with me - this was a particularly busy holiday season for us here in the burg. I'm really looking forward to getting back to normal!

Sunday, December 09, 2012

Christmas Tag-a-rama

I did promise to share some tags I was making for my sister and her family - so here we go:
Here are the two tags for my nephews using PTI's Tag Sale #6 die along with dies from PTI's In the Meadow. I used some patterned paper from Memory Box (Tinsel). When I was done assembling I took a glue pen and ran lines over the pattern in the paper then sprinkled on some ultra fine glitter. In the first pic you can't see the lines - you just see the shimmer - but in this second pic I was able to get those lines visible in the photo.  In real life you don't see the lines unless you're holding it at just the right angle - but that's really what I was going for - the overall shimmer.


Next we have the tag for my niece, the boys younger sister. She is 4 and a girly girl. She loves anything pink and sparkly! So I decided she should have a pink polka-dotted Christmas tree. Why not! I used some of PTI's Raspberry Fizz cardstock and stamped (in Versamark)on the polkas using PTI's Polka Dot Basics - then used some white embossing powder. I cut out another Tag Sale #6 and attached some Cosmo Cricket patterned paper (Jolly by Golly). I used some Crystal Glitter from Walmart on the bottom area (adhered with Modpodge), added the pink tree then finished it off with the little die cut snowman die from In the Meadow.  All three tags are stamped with a sentiment from Fillable Frames #9 (they're  also got the To: From: stamped on the back of each tag.)
Finally I wanted some little tags to also go on these packages that say don't open til Christmas (they are quite the imps these 3!)
I cut out the tags using the die from Fillable Frames #9 using papers from PTI's New Leaf Pattern pack. I cut out small rectangles with an EK success punch and used those as reinforcers for the tags. The image is a Holiday Seal stamp from Catslife Press. I stamped in versamark and embossed with white ep. Finally I attached some bakers twine.  Then I took a white gel marker and wrote in the date.
Alright then. Thanks for stopping by - have a good one!
Edited to add - I just realized the first two tags would be good for the Make it Monday challenge - so consider these entered ;-)
 

Friday, December 07, 2012

Snowflake Sparkle Ornament

I'm trying to get a package together to send my sister - some of the Christmas presents are already there. But I've got one gift here that needs a little decoration and I need to make some tags for the gifts already at her house. So today I put together a little package decor that also doubles as a tree ornament. I used Papertrey's Damask Snowflake dies. I combined some modpodge with some ultrafine glitter and painted that on - I think you can see the shimmer - it's pretty. For the sentiment I used PTI's Happiest of  Holiday set. I really love this set and have given it a bit of a workout. I wanted to highlight the word Christmas so a little masking was required. I added some ribbon to the back and another snowflake on top of that to finish it off.
Tomorrow I've got to get those tags done - hopefully I'll have a few to share then. Have a good one!

Wednesday, December 05, 2012

Make it Monday #94 Detail Glitter Technique

So I've been trying to get back to making Christmas cards - and I managed to get one made today. I pulled out PTI's Mistletoe & Holly (for the image) and Happiest of Holidays (for the sentiment). I wanted to use a favorite color combo - aqua and red. I stamped the main image with versamark and clear embossed it. Then I stamped the mistletoe berries in versamark but I used white embossing powder this time. (Here it looks a little off white - I'm thinking that's got to do with the aqua..... regardless). I used the Mat Stack 1 die to cut out the sentiment shape (wish I'd gotten the Mat Stack Layerz 1 to mat that but I digress) and stamped the sentiment in red. I mounted that on some foam tape - but before I attached it I wrapped some bakers twine around the card. I finished the whole thing off by adding some Ultra Fine glitter to the berries (I used a Martha Stewart glue pen to adhere it). I really wish the photo shows the shiny embossing powder  and the glitter - you'll just have to believe me when I say it's a little magical. Sort of sugarplum-esque.
Okay... off I go. Have a good one!